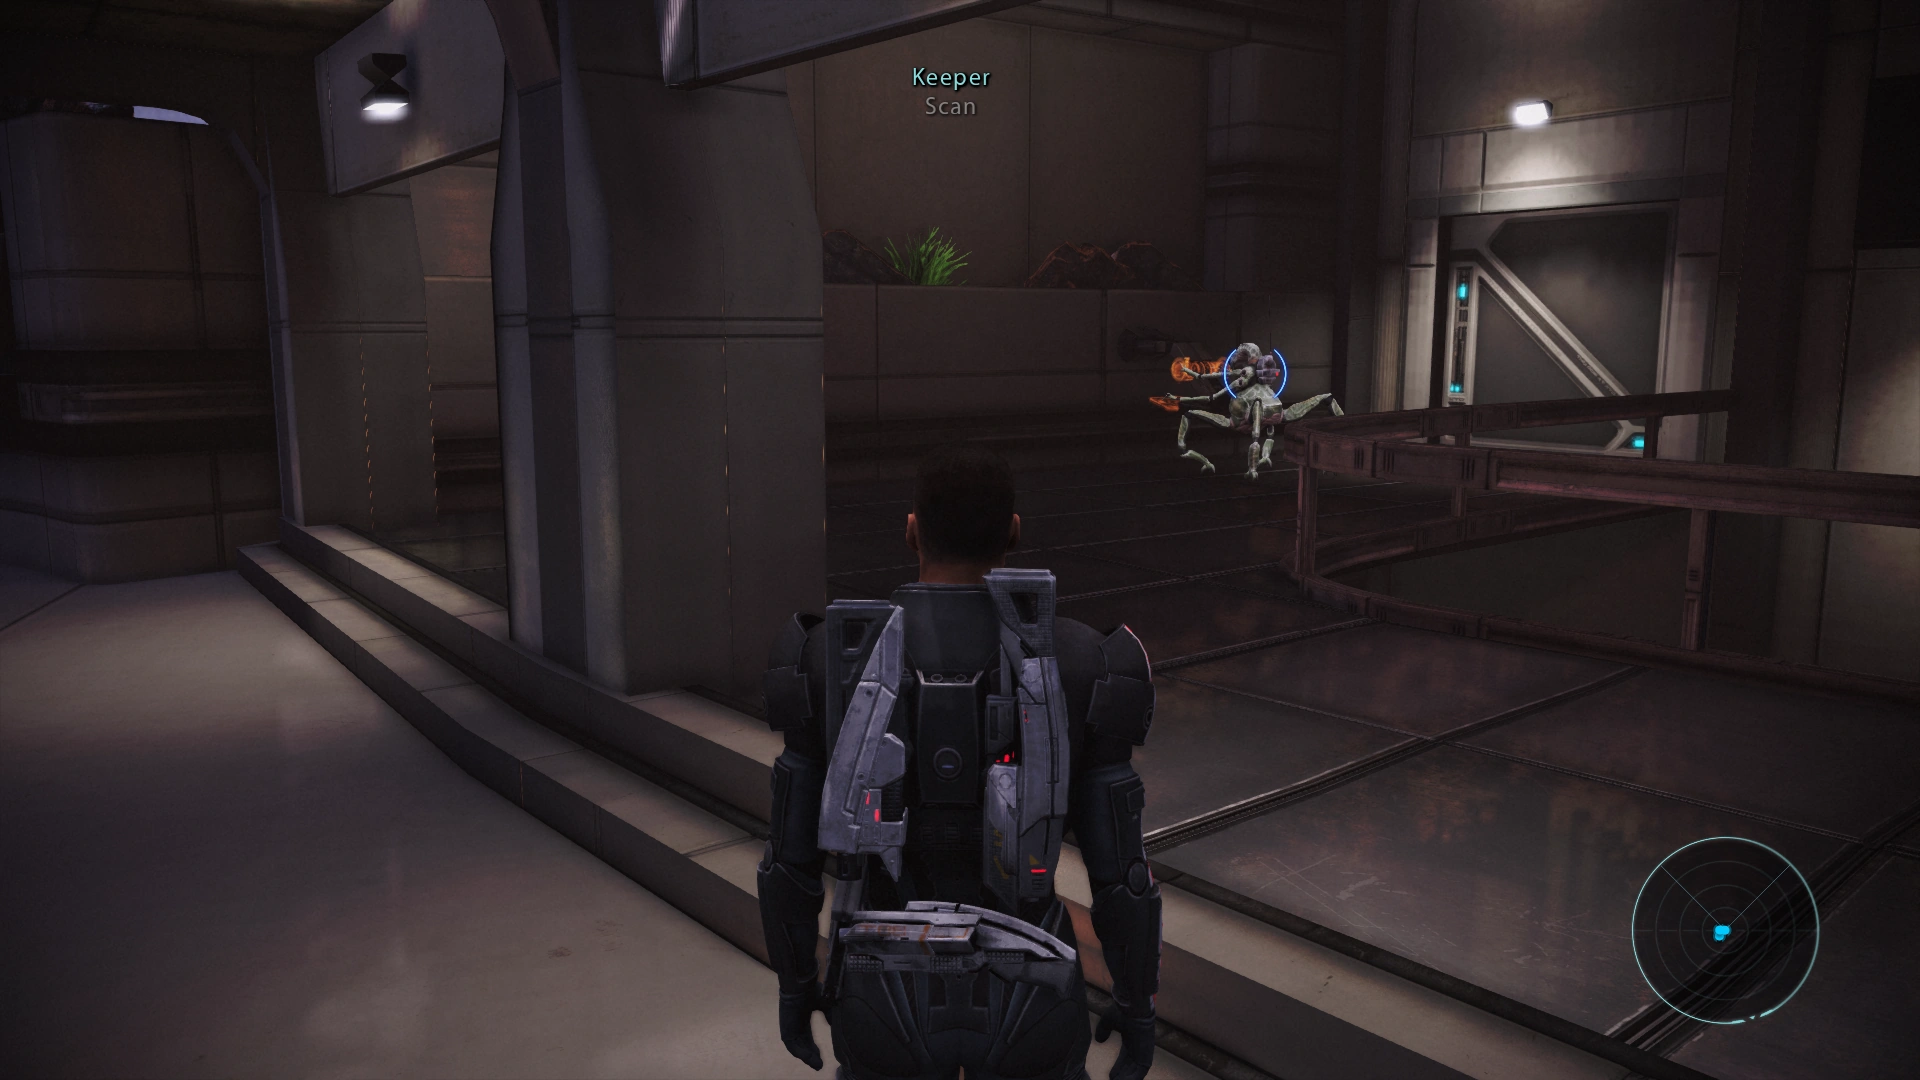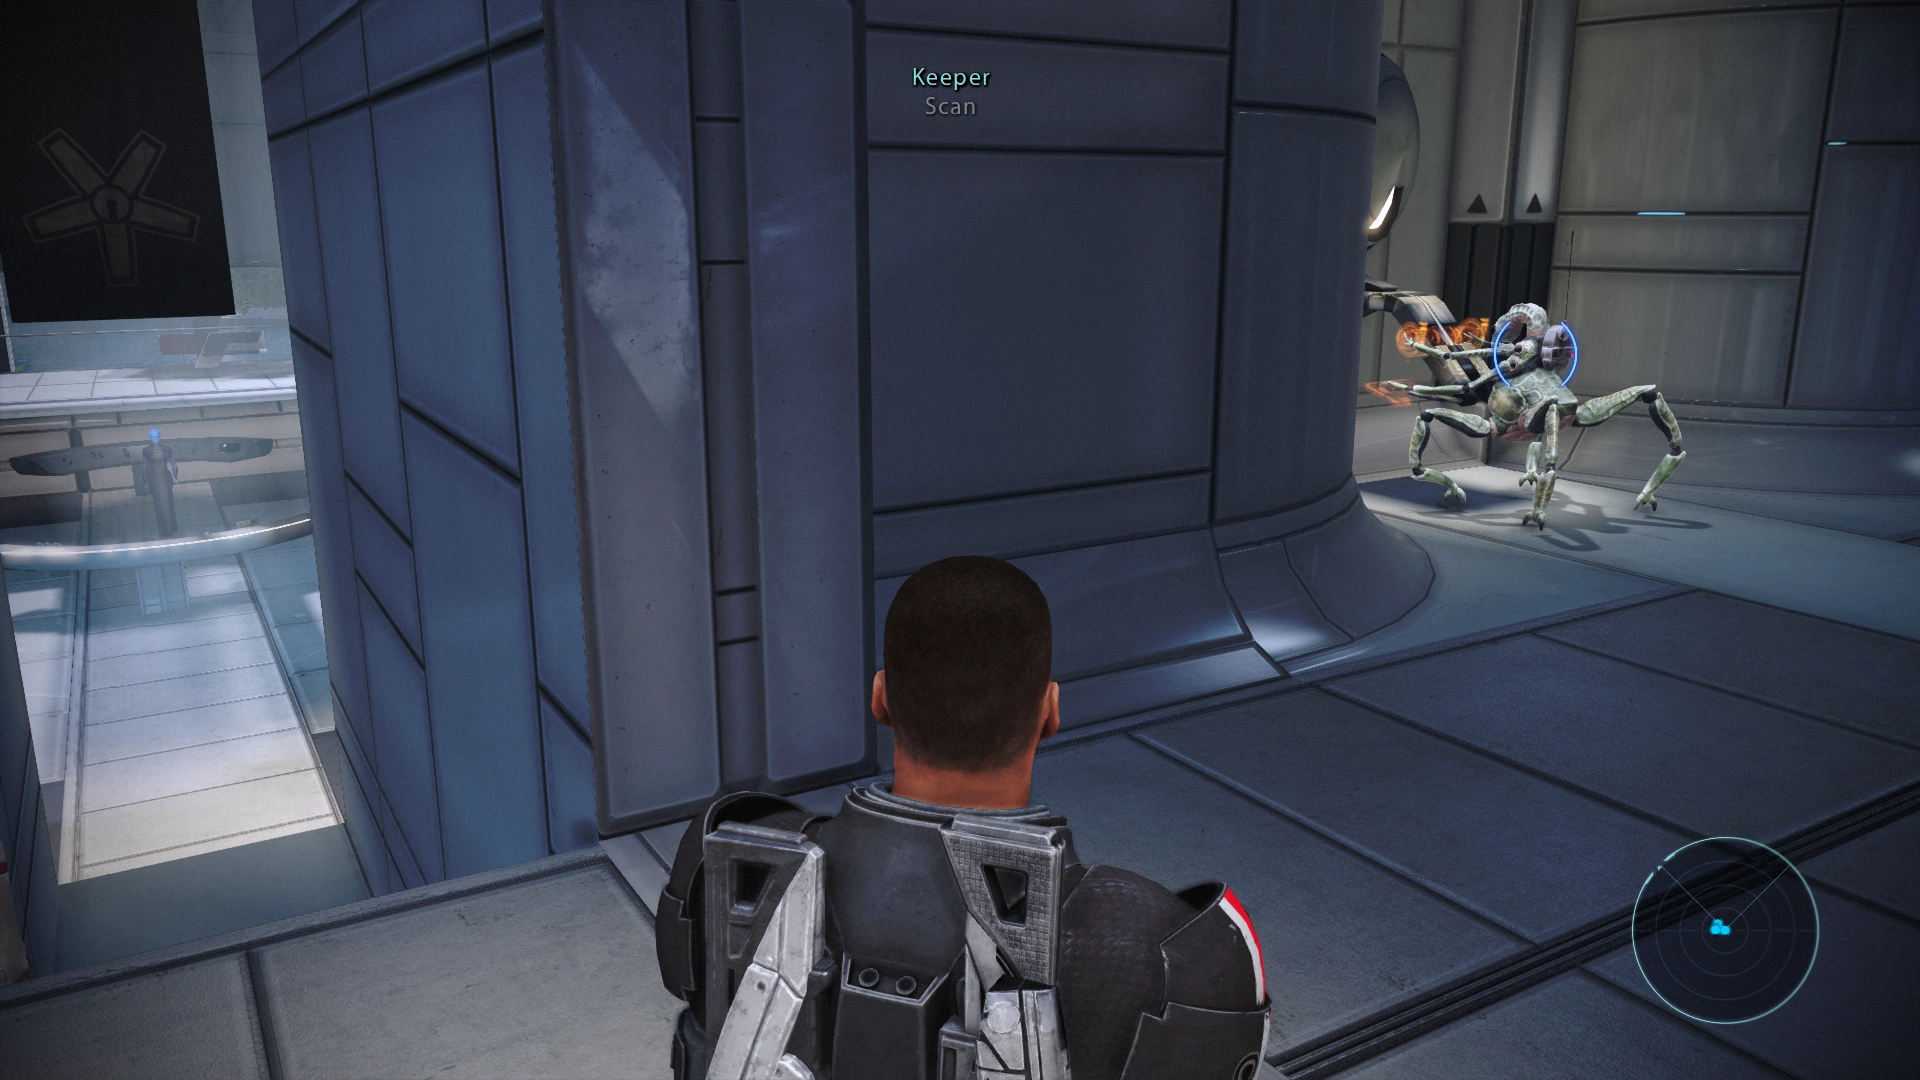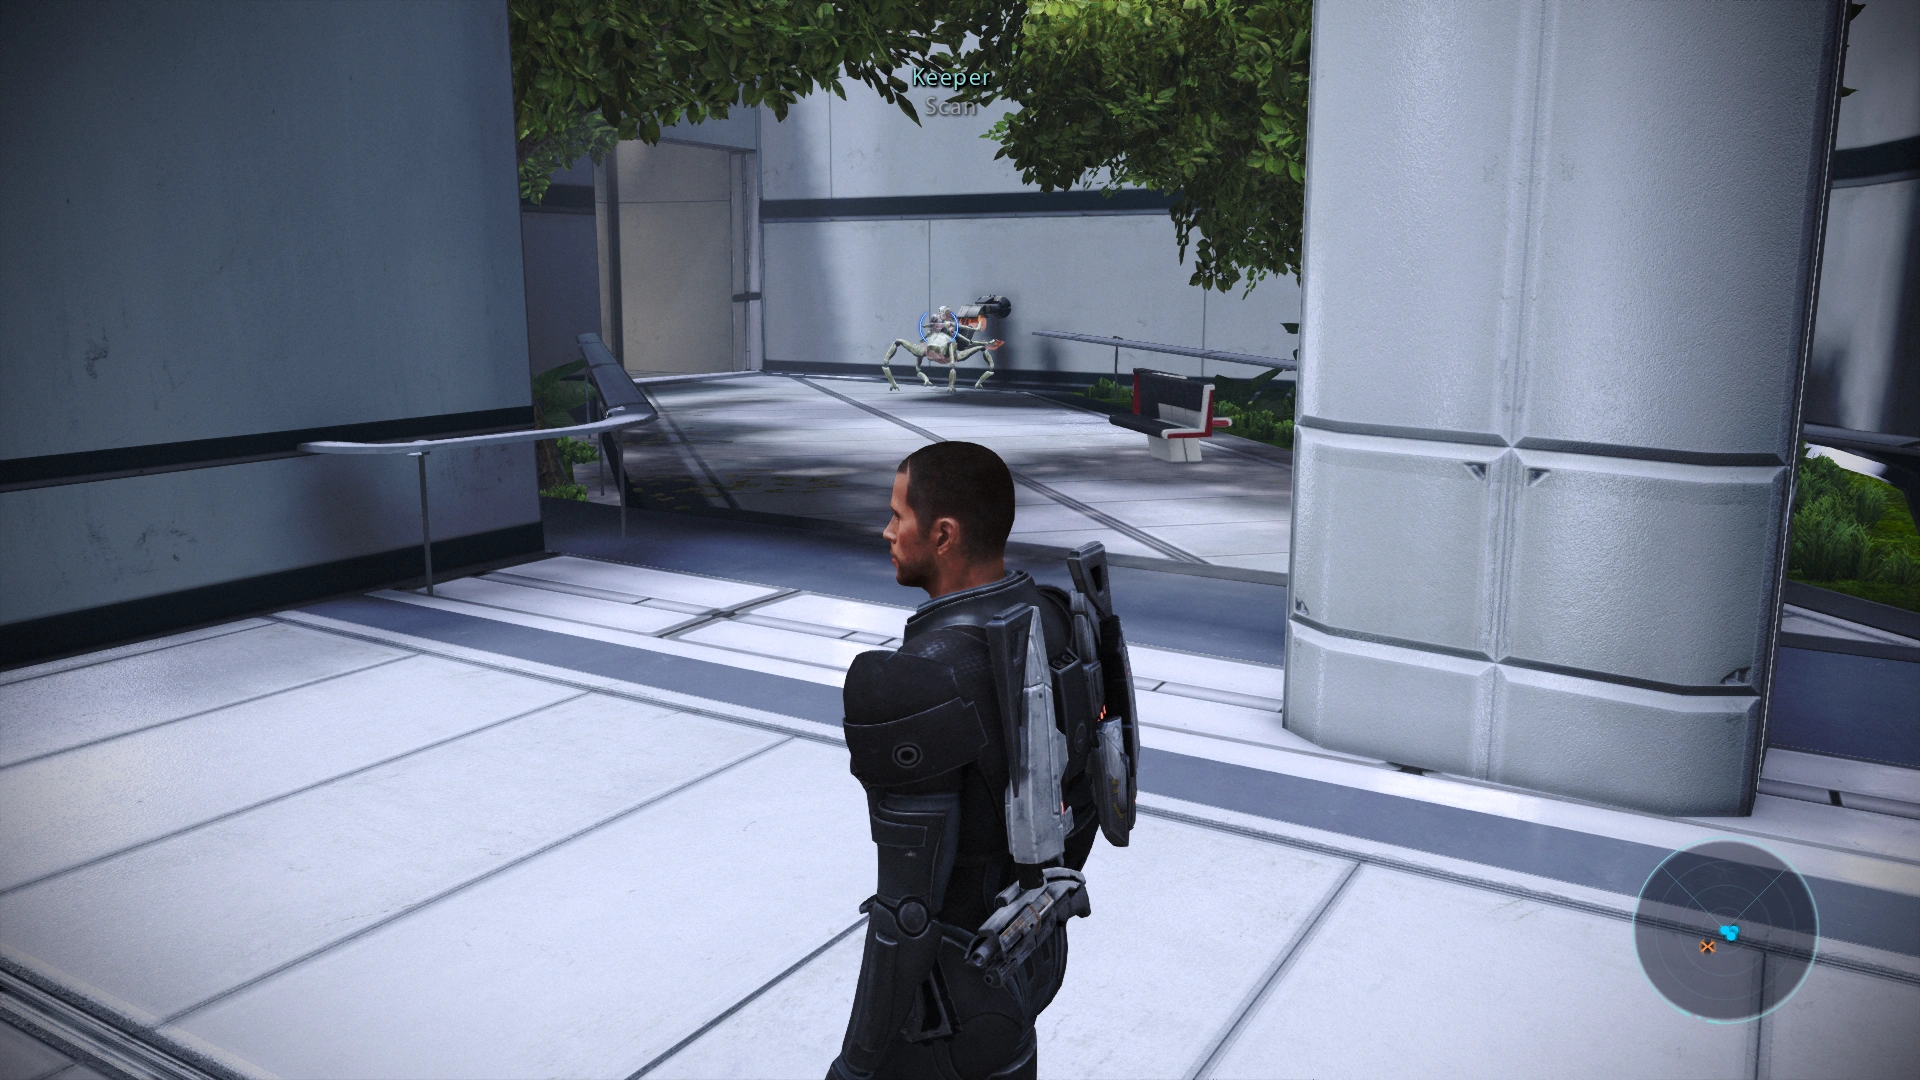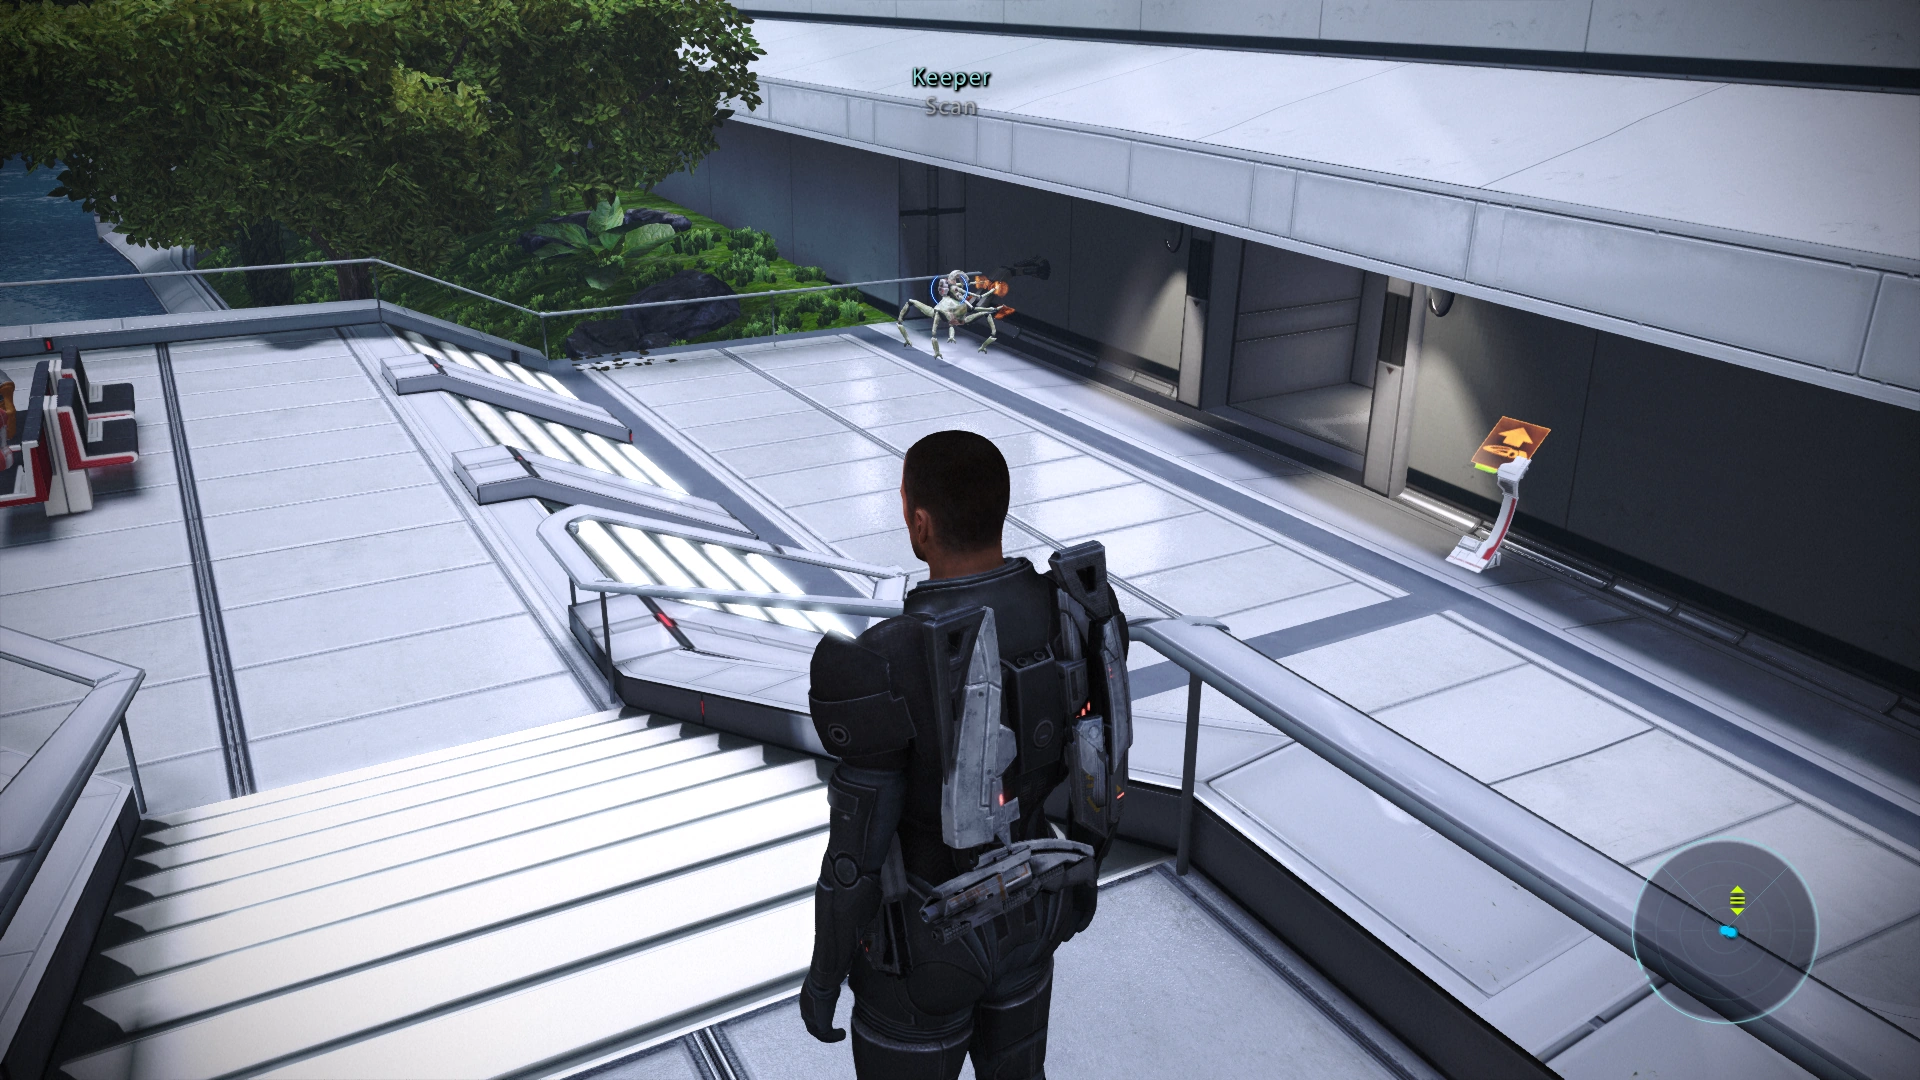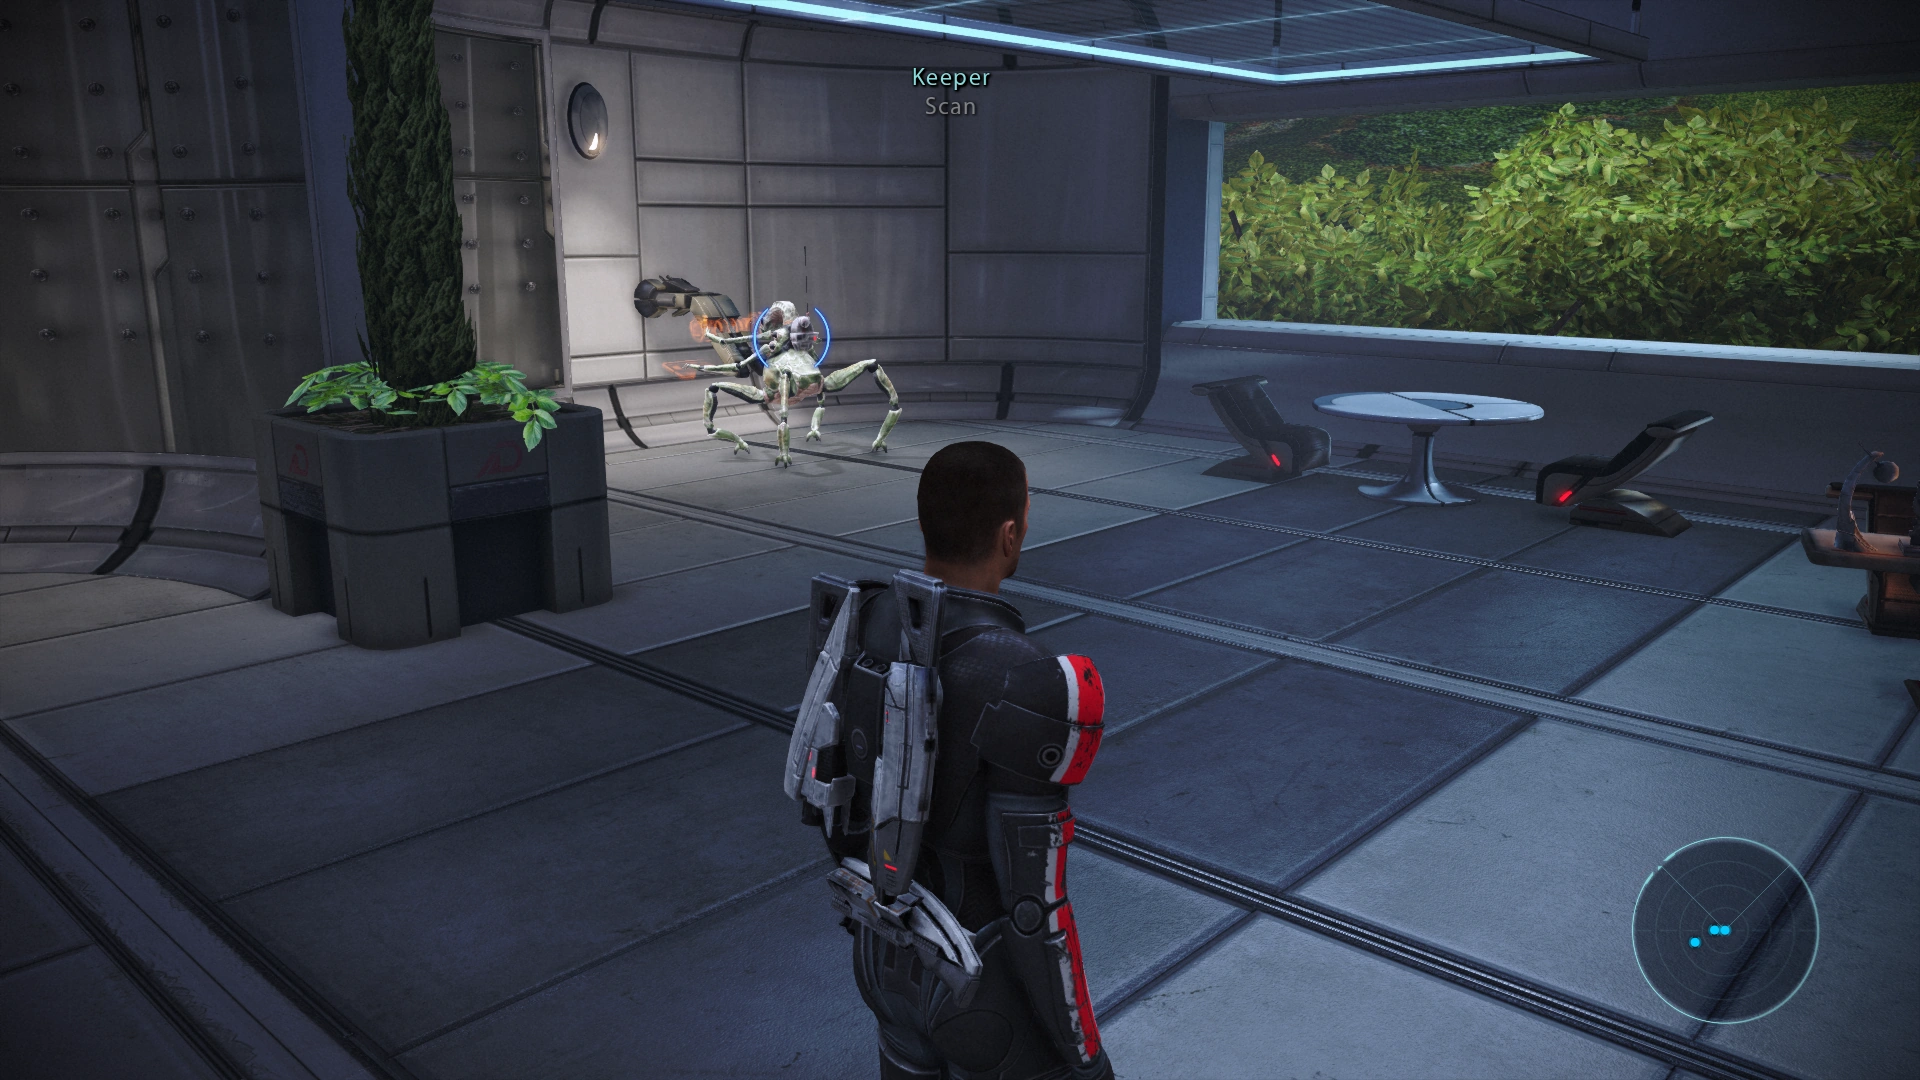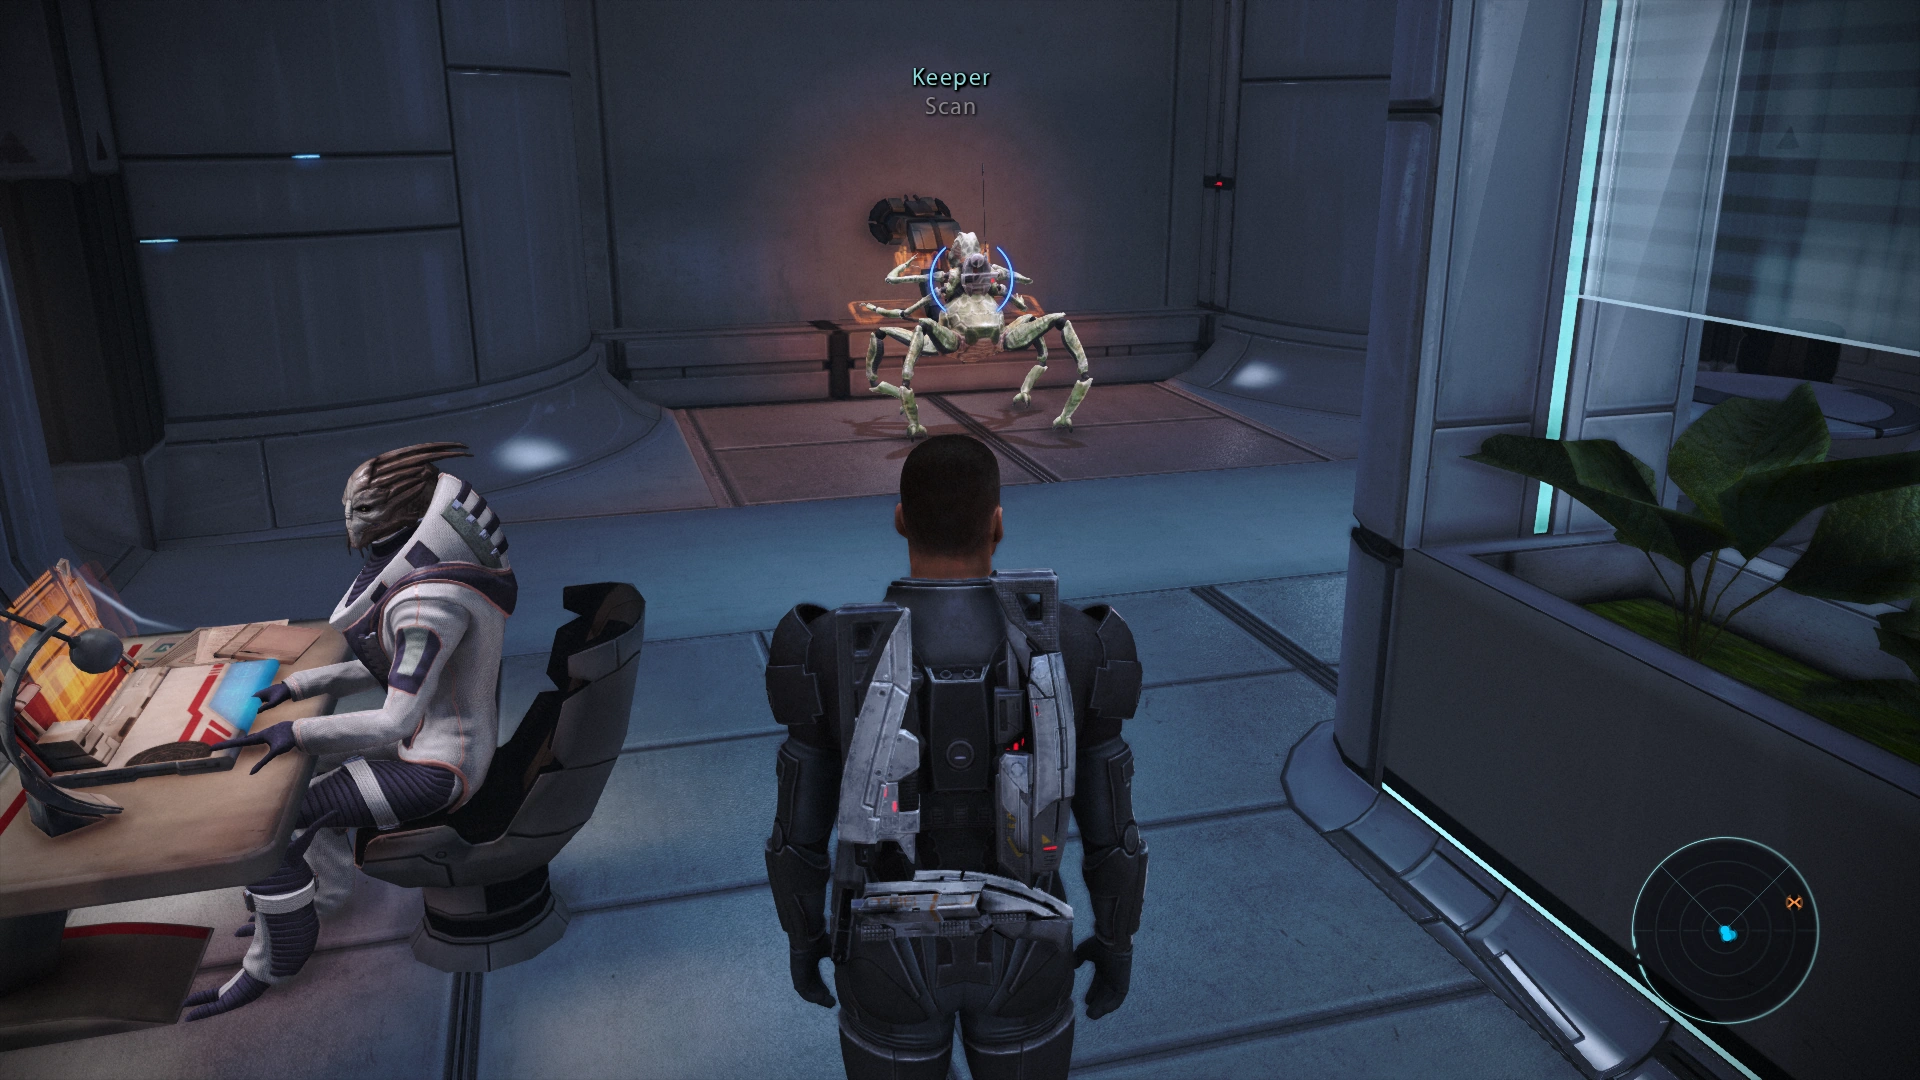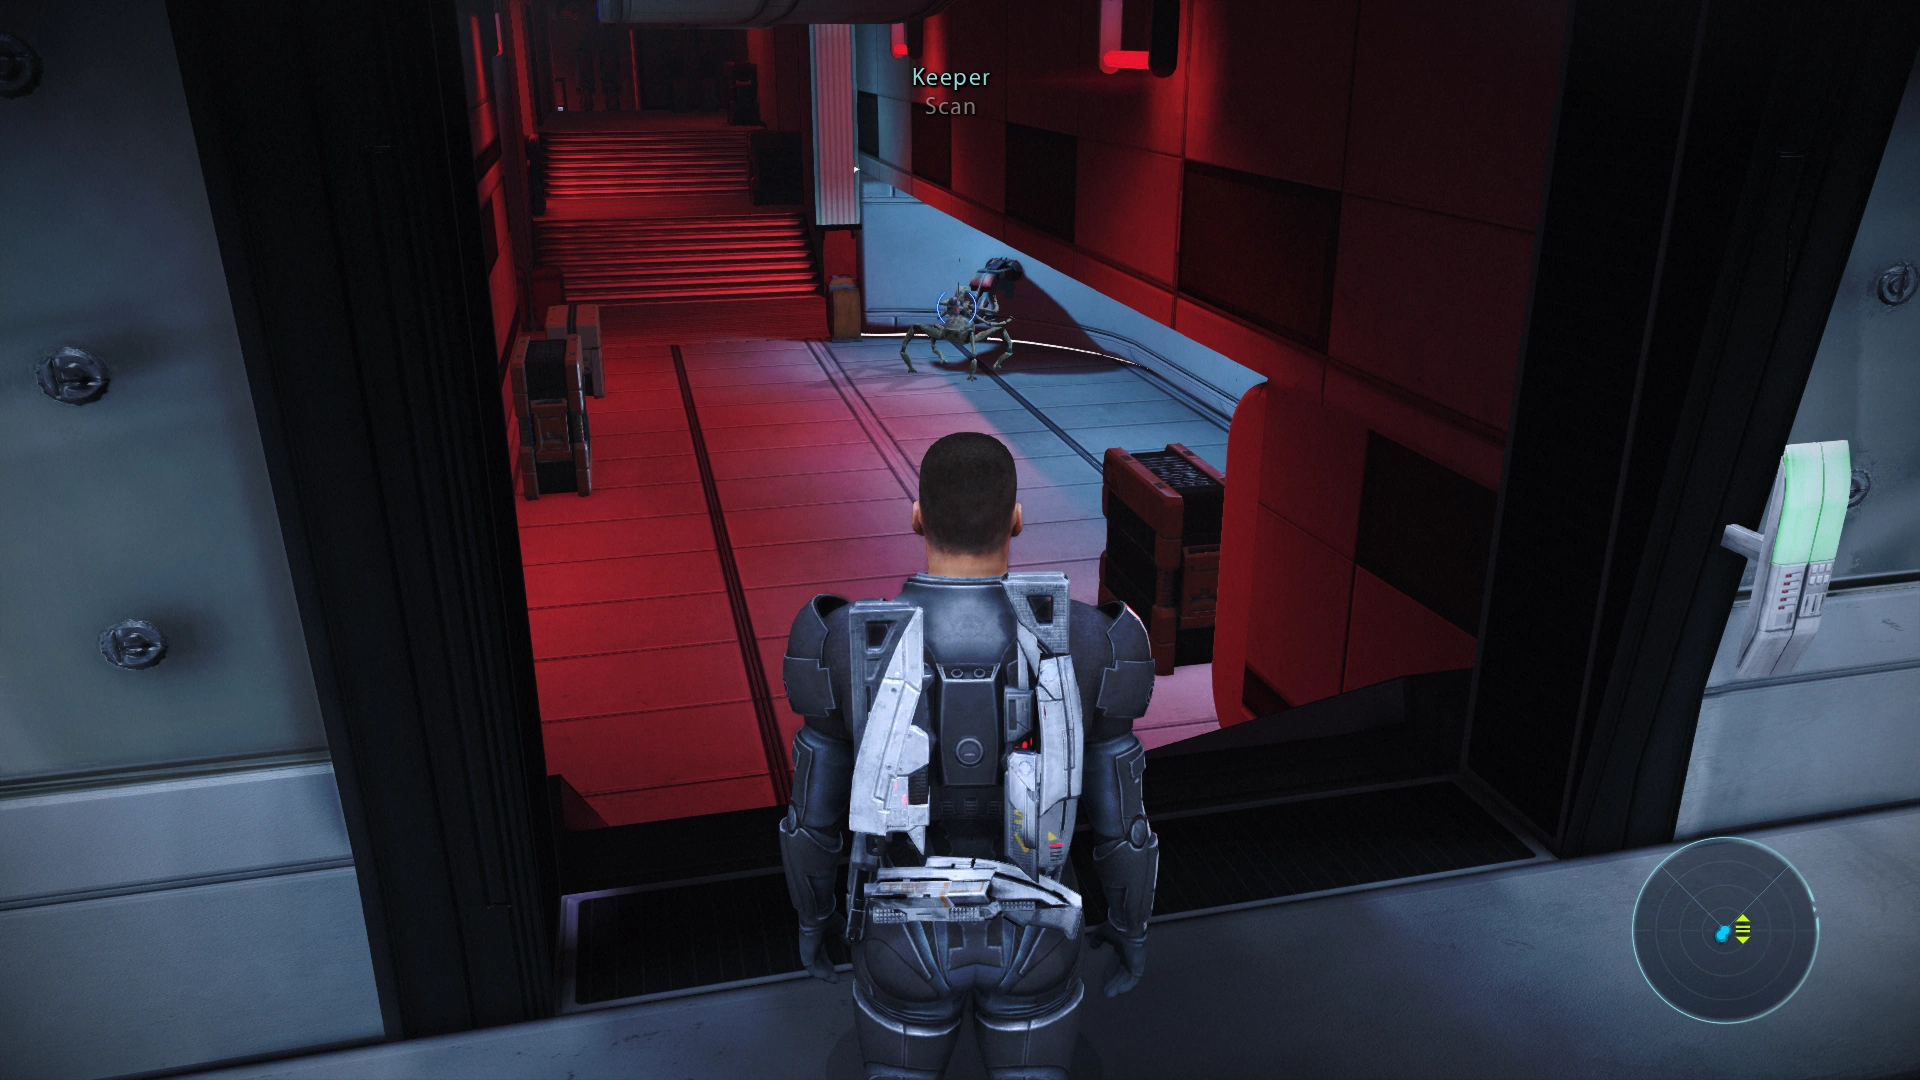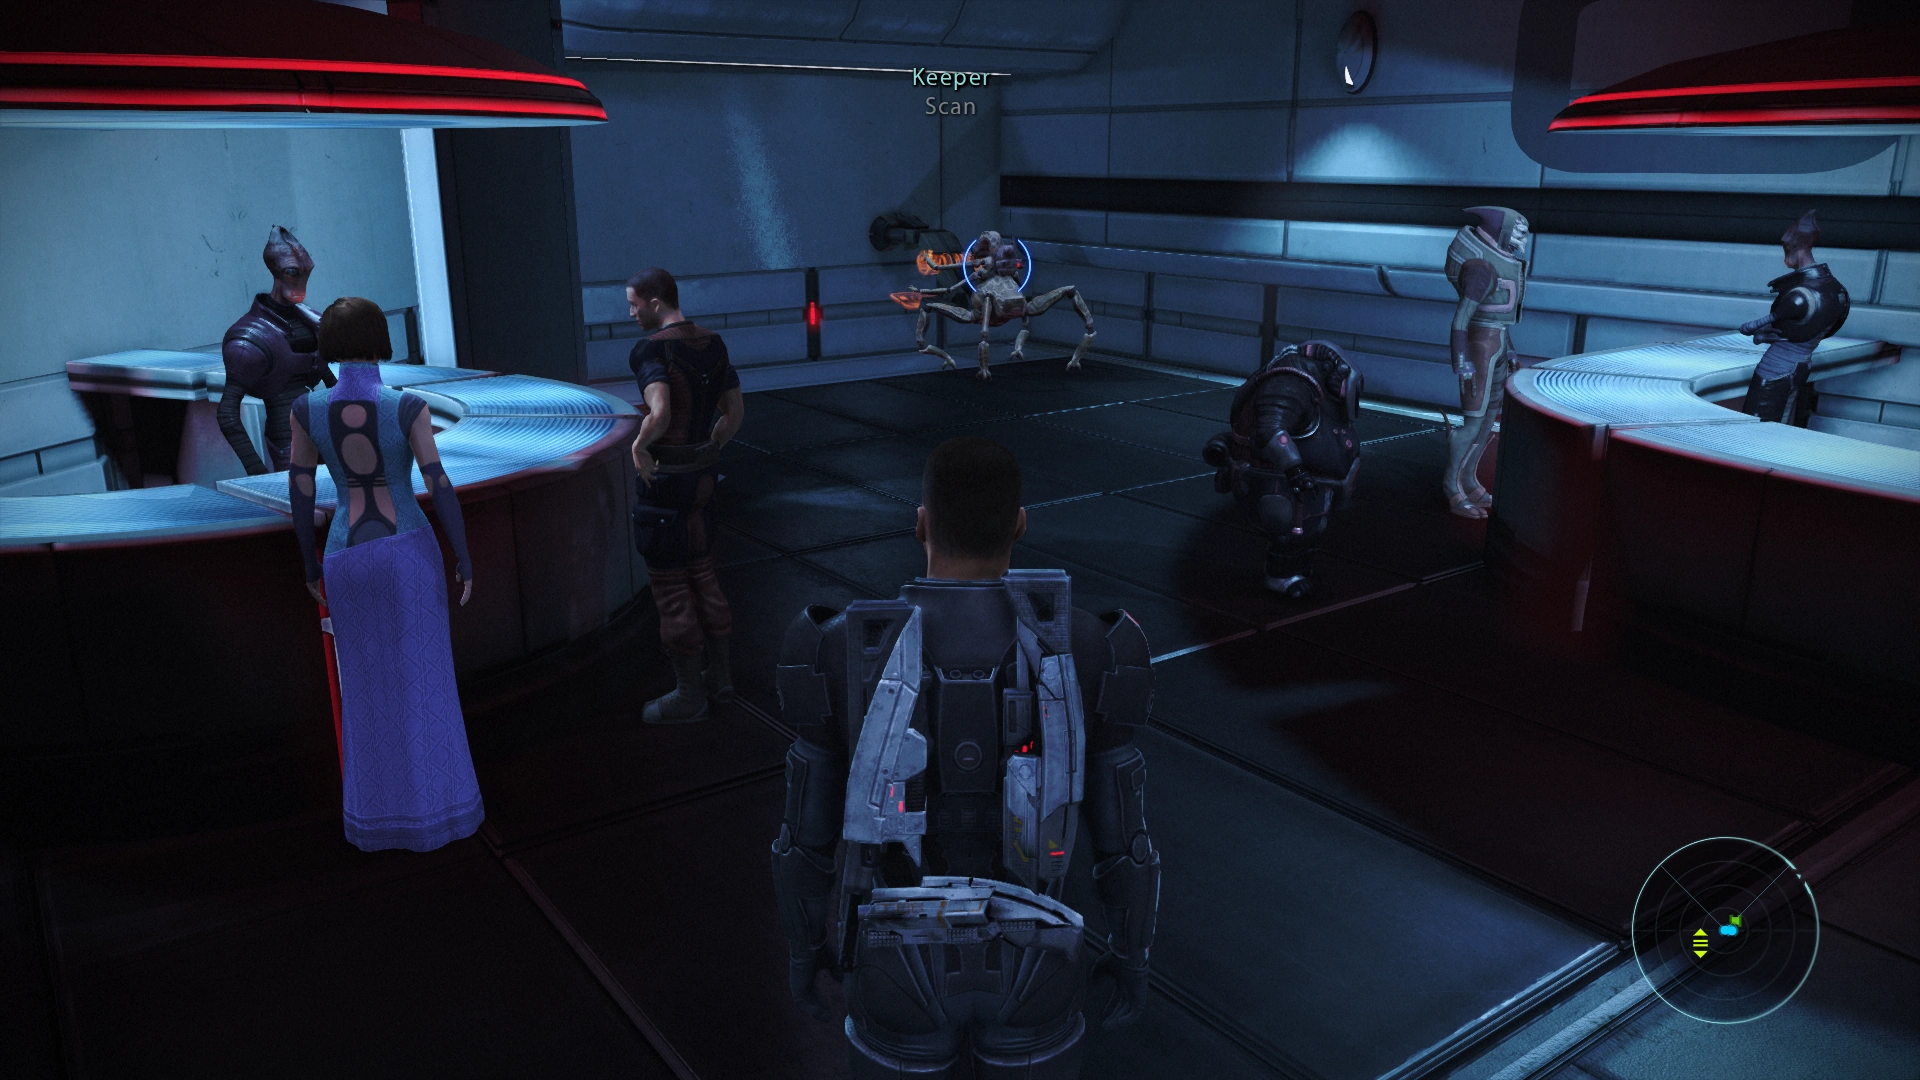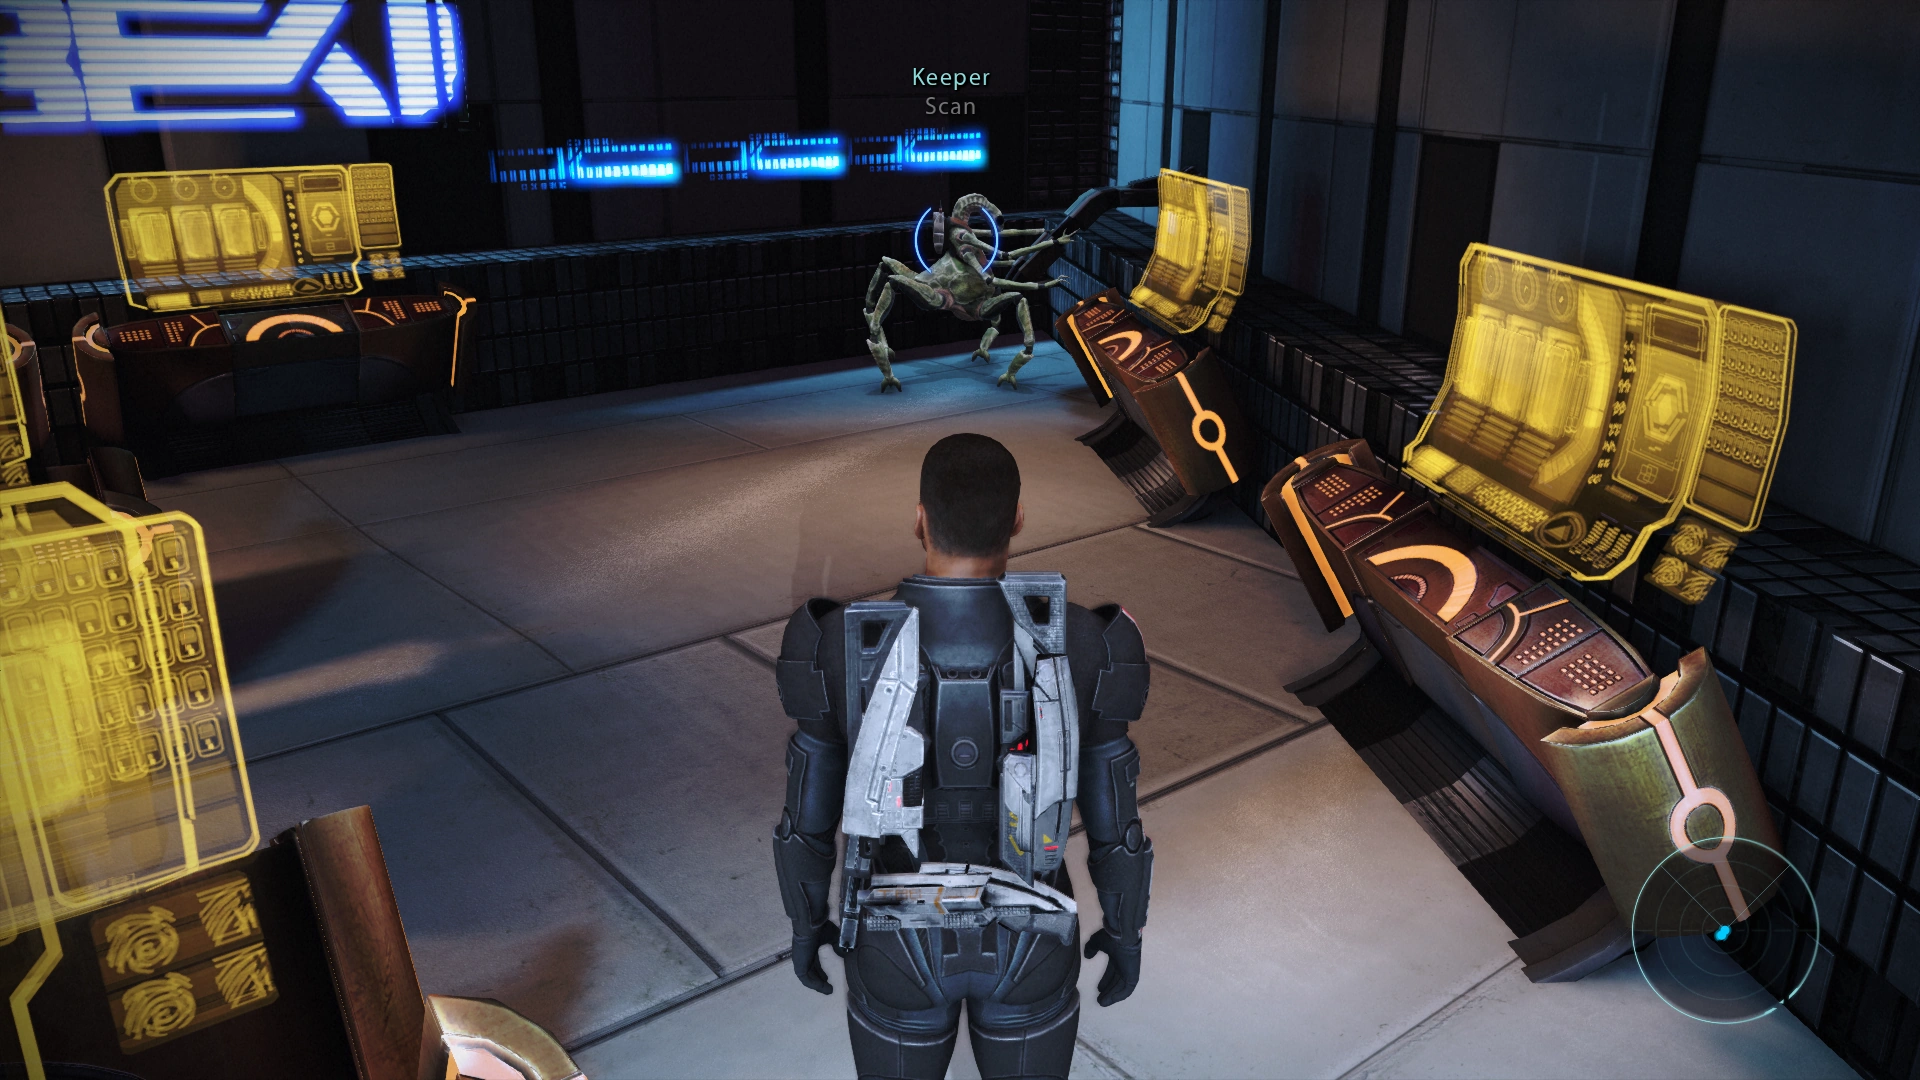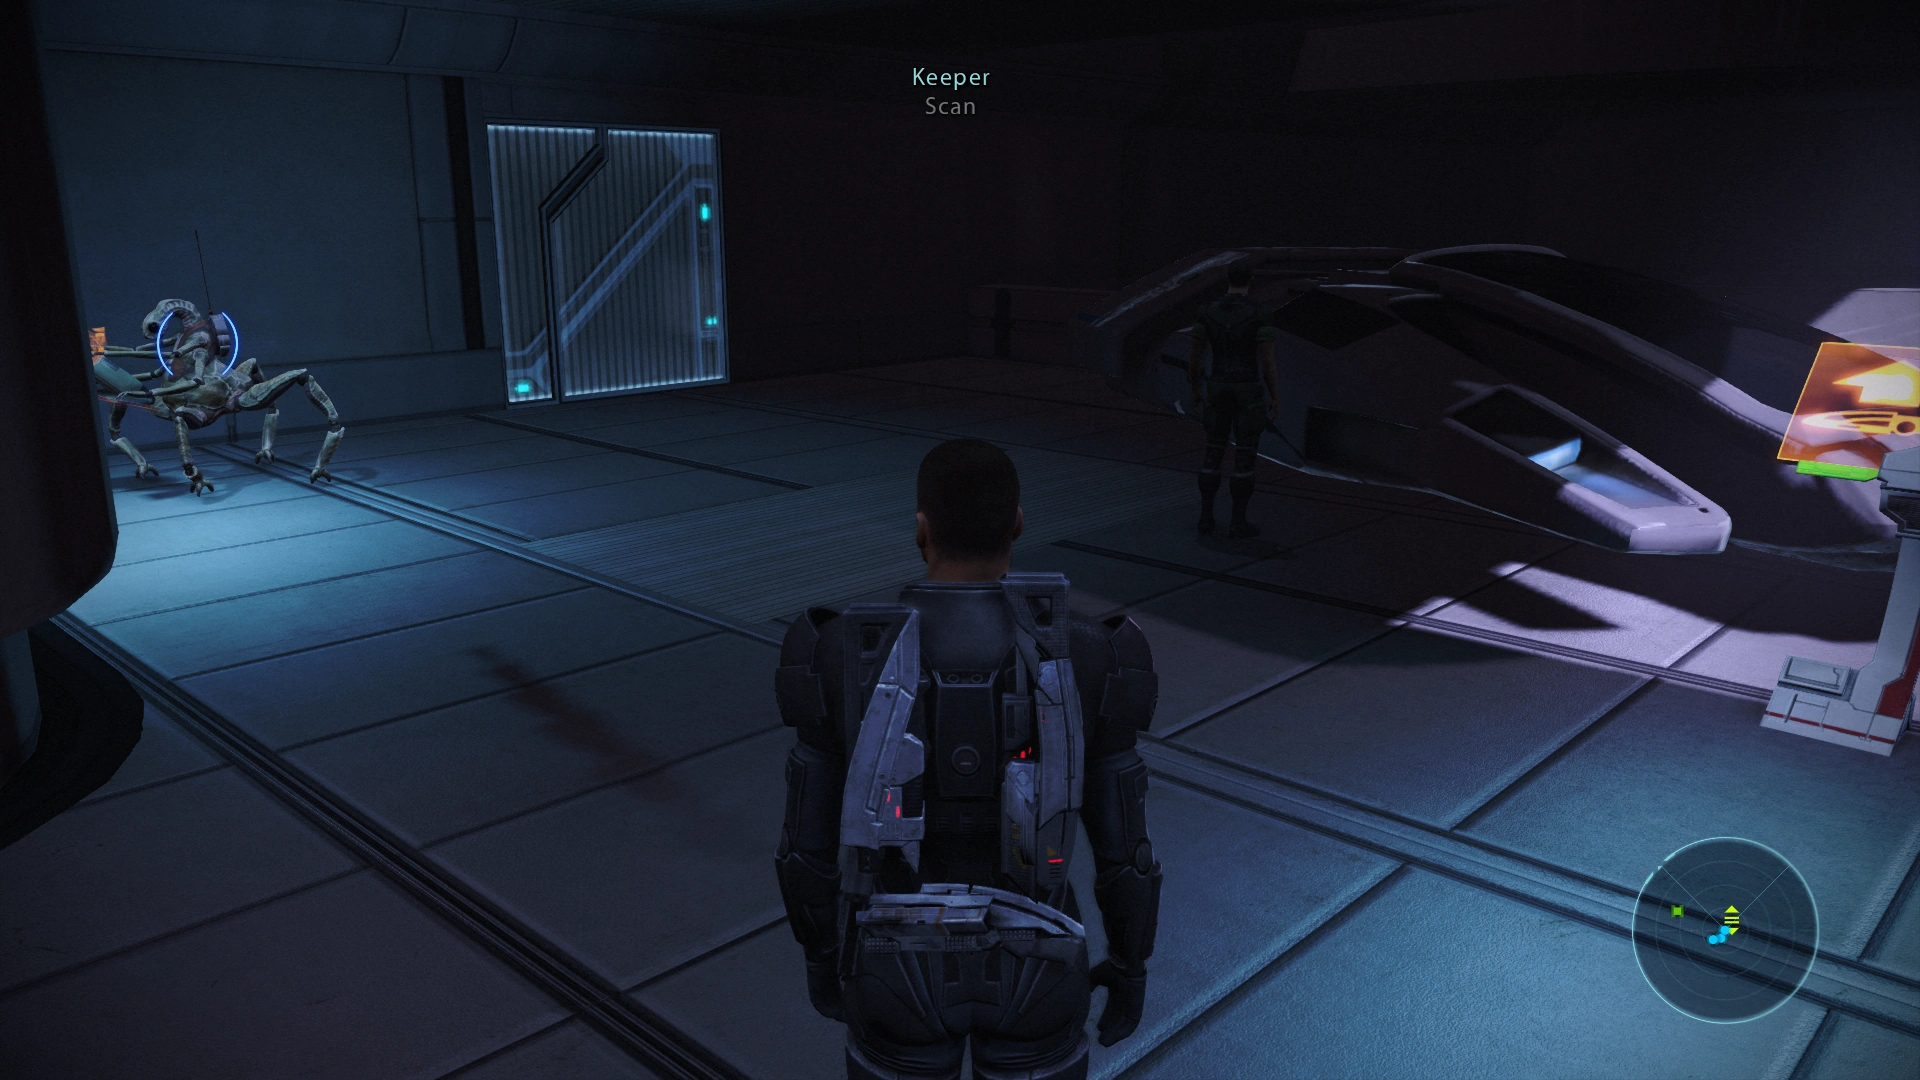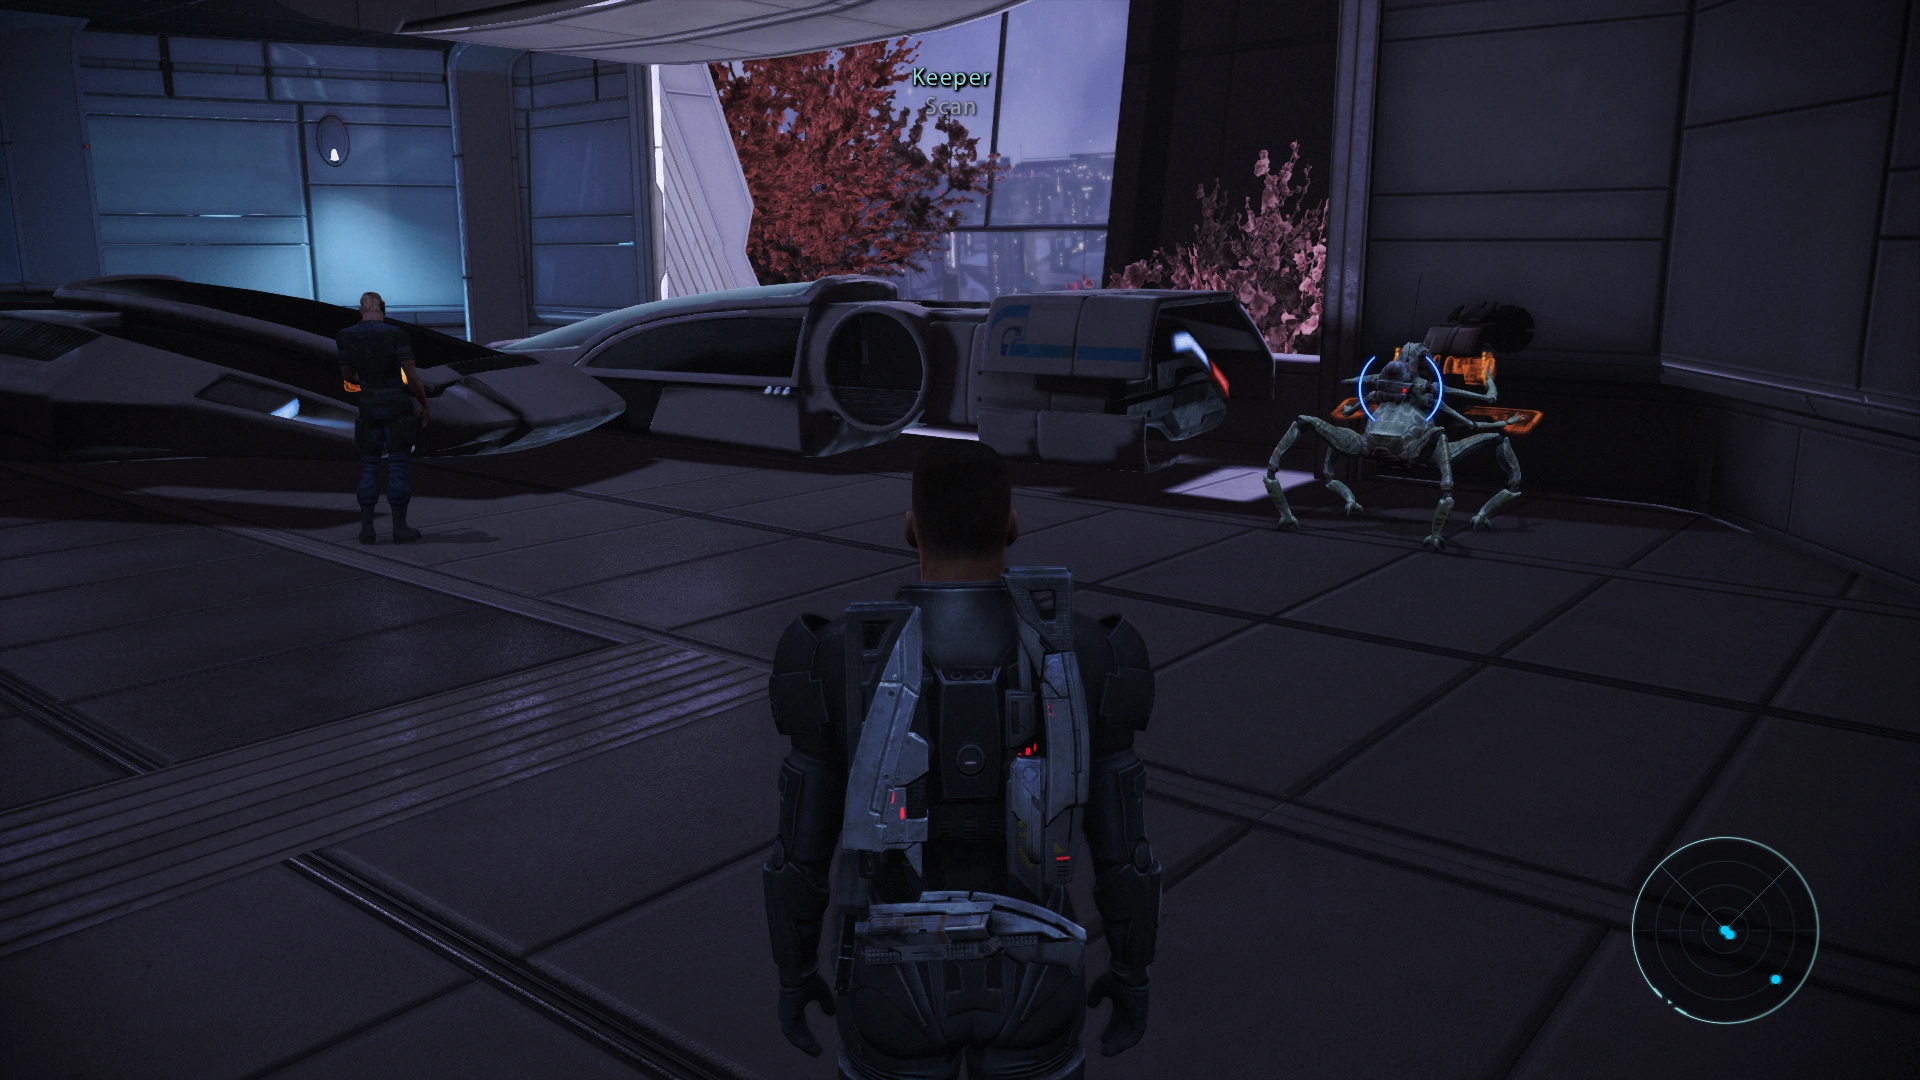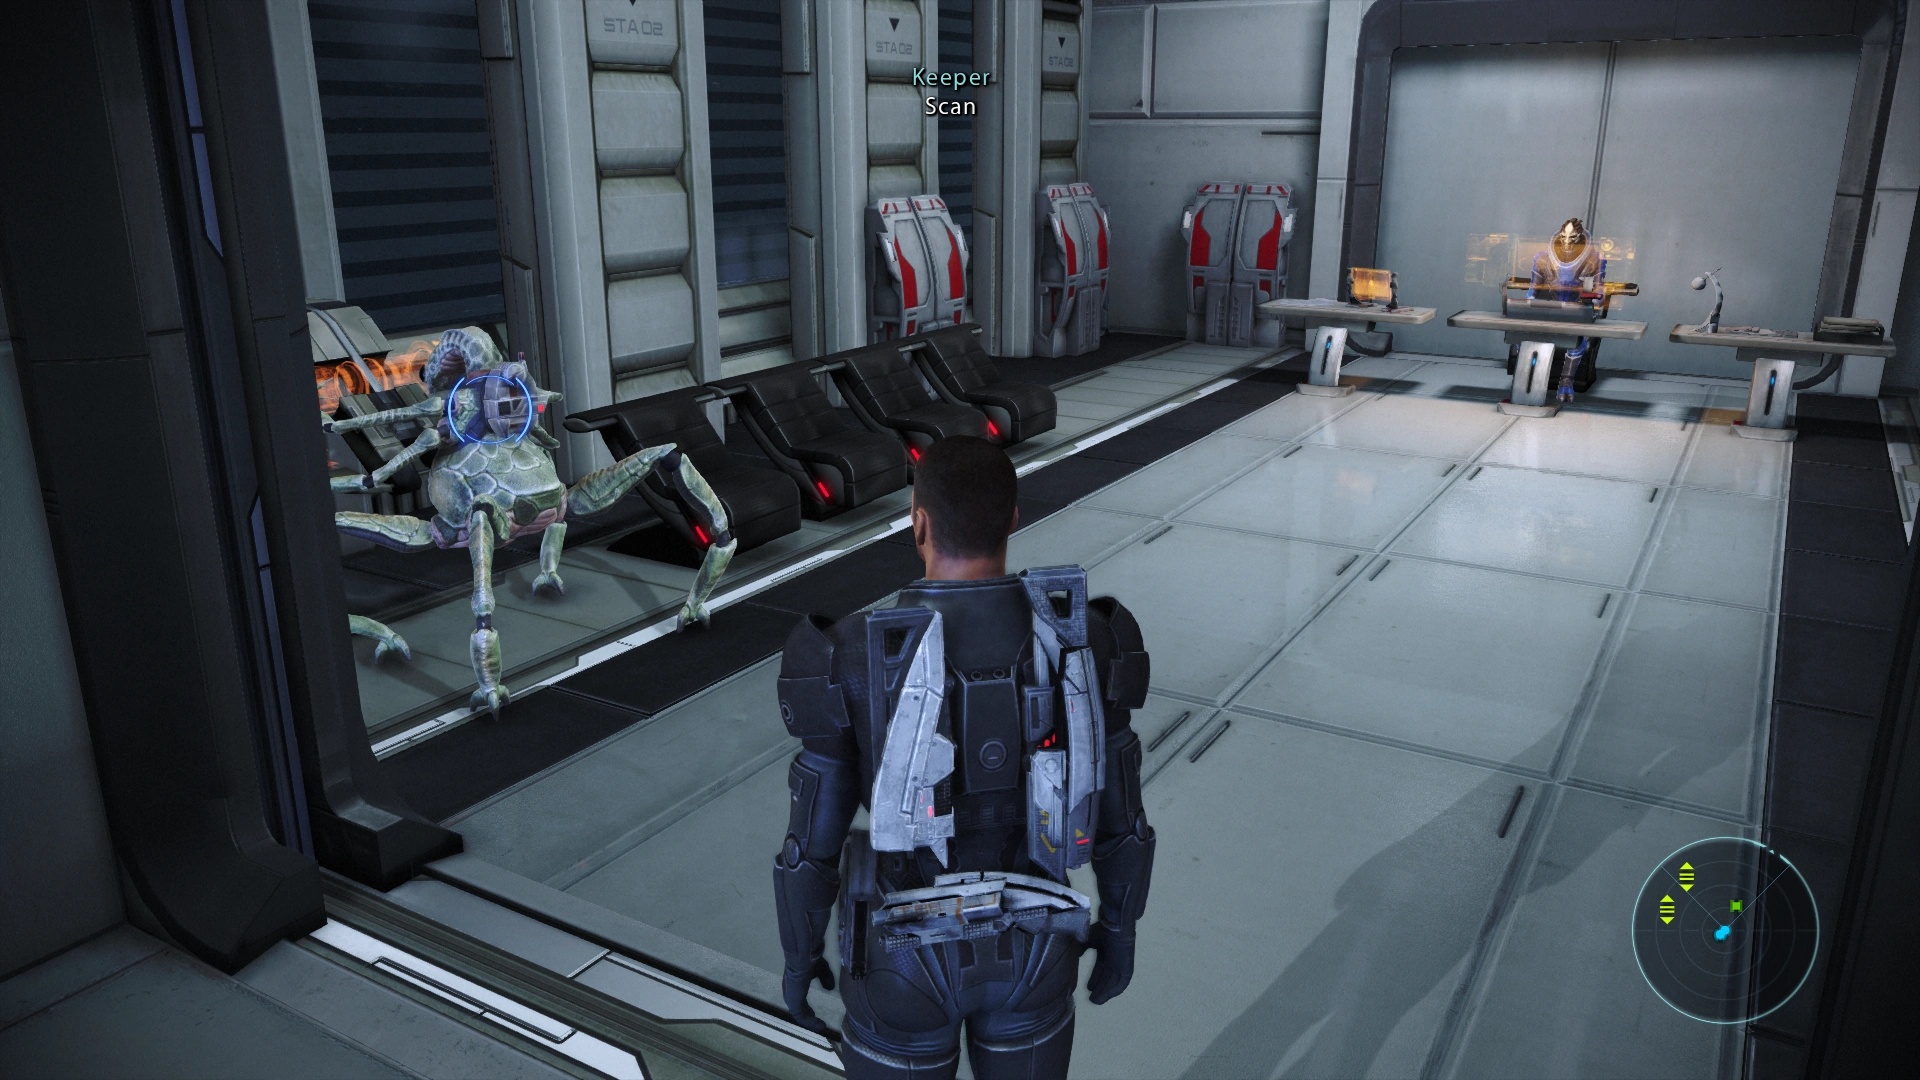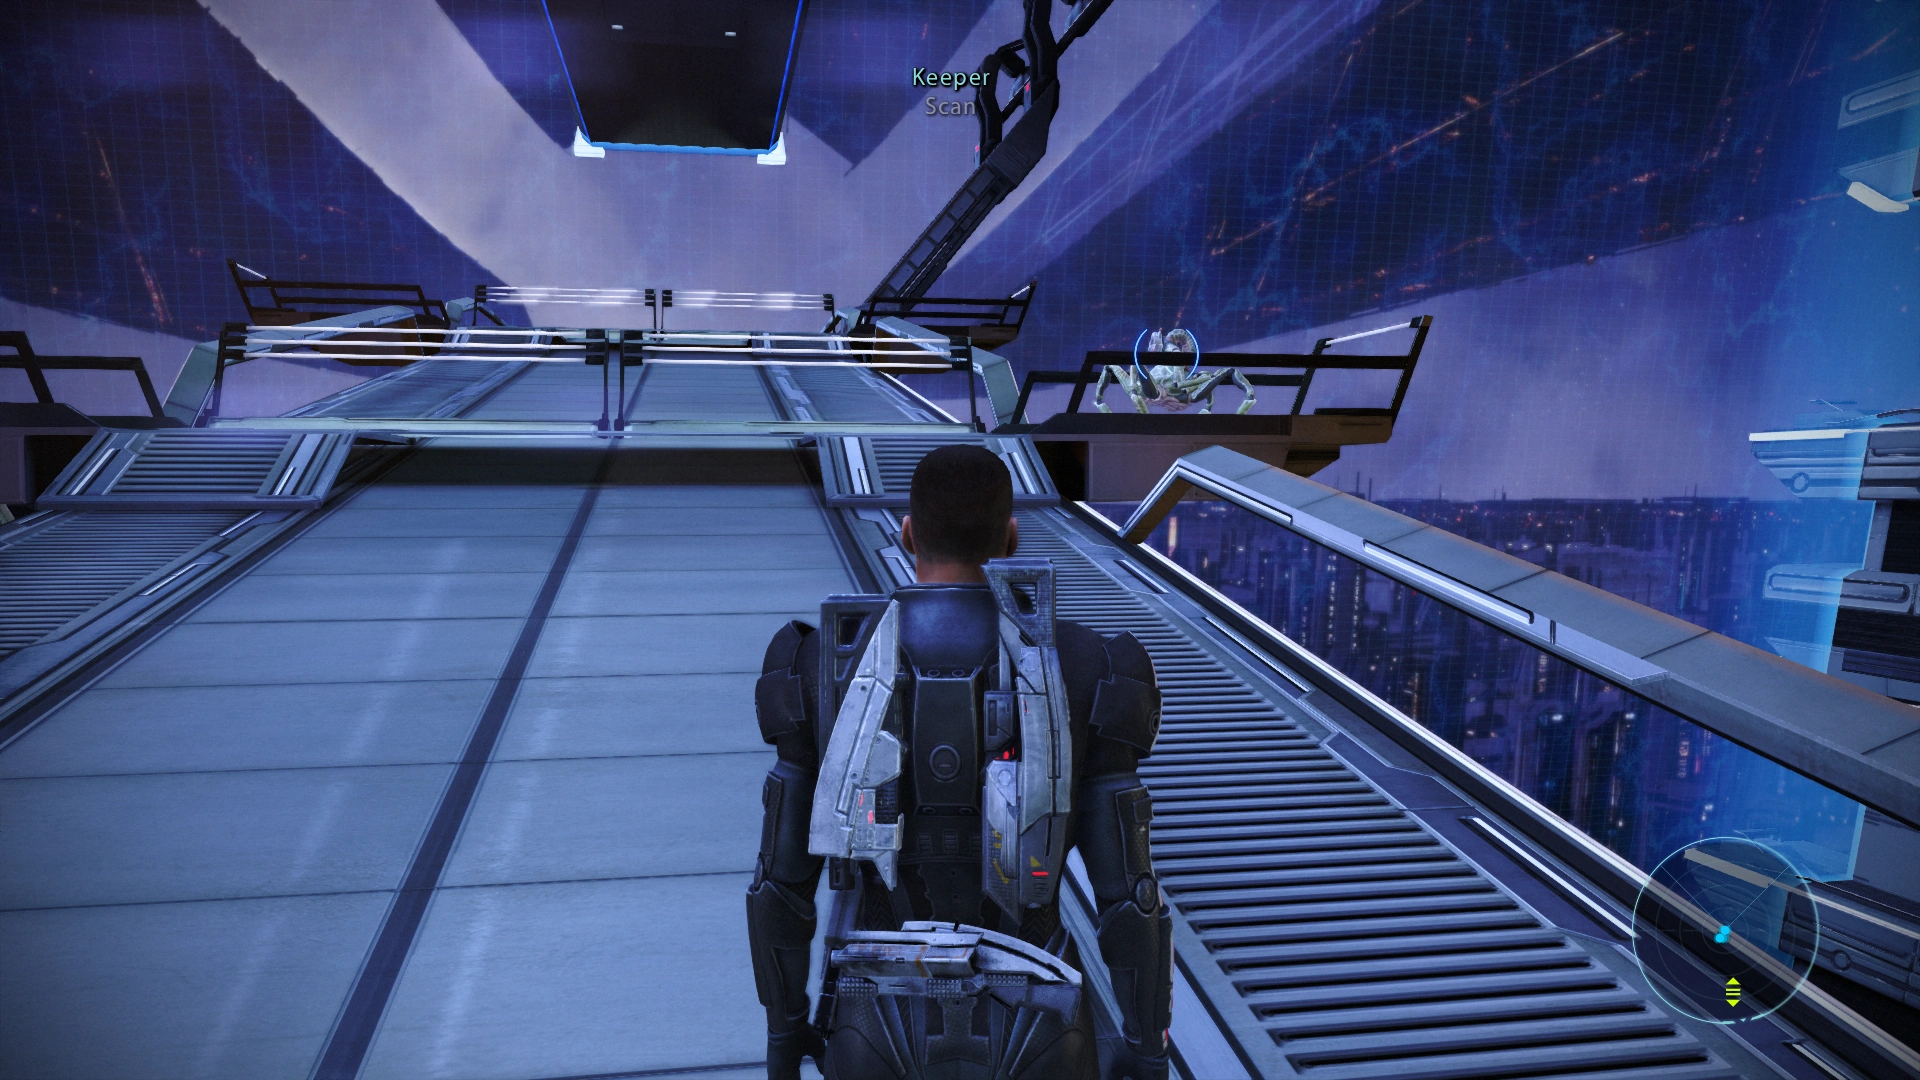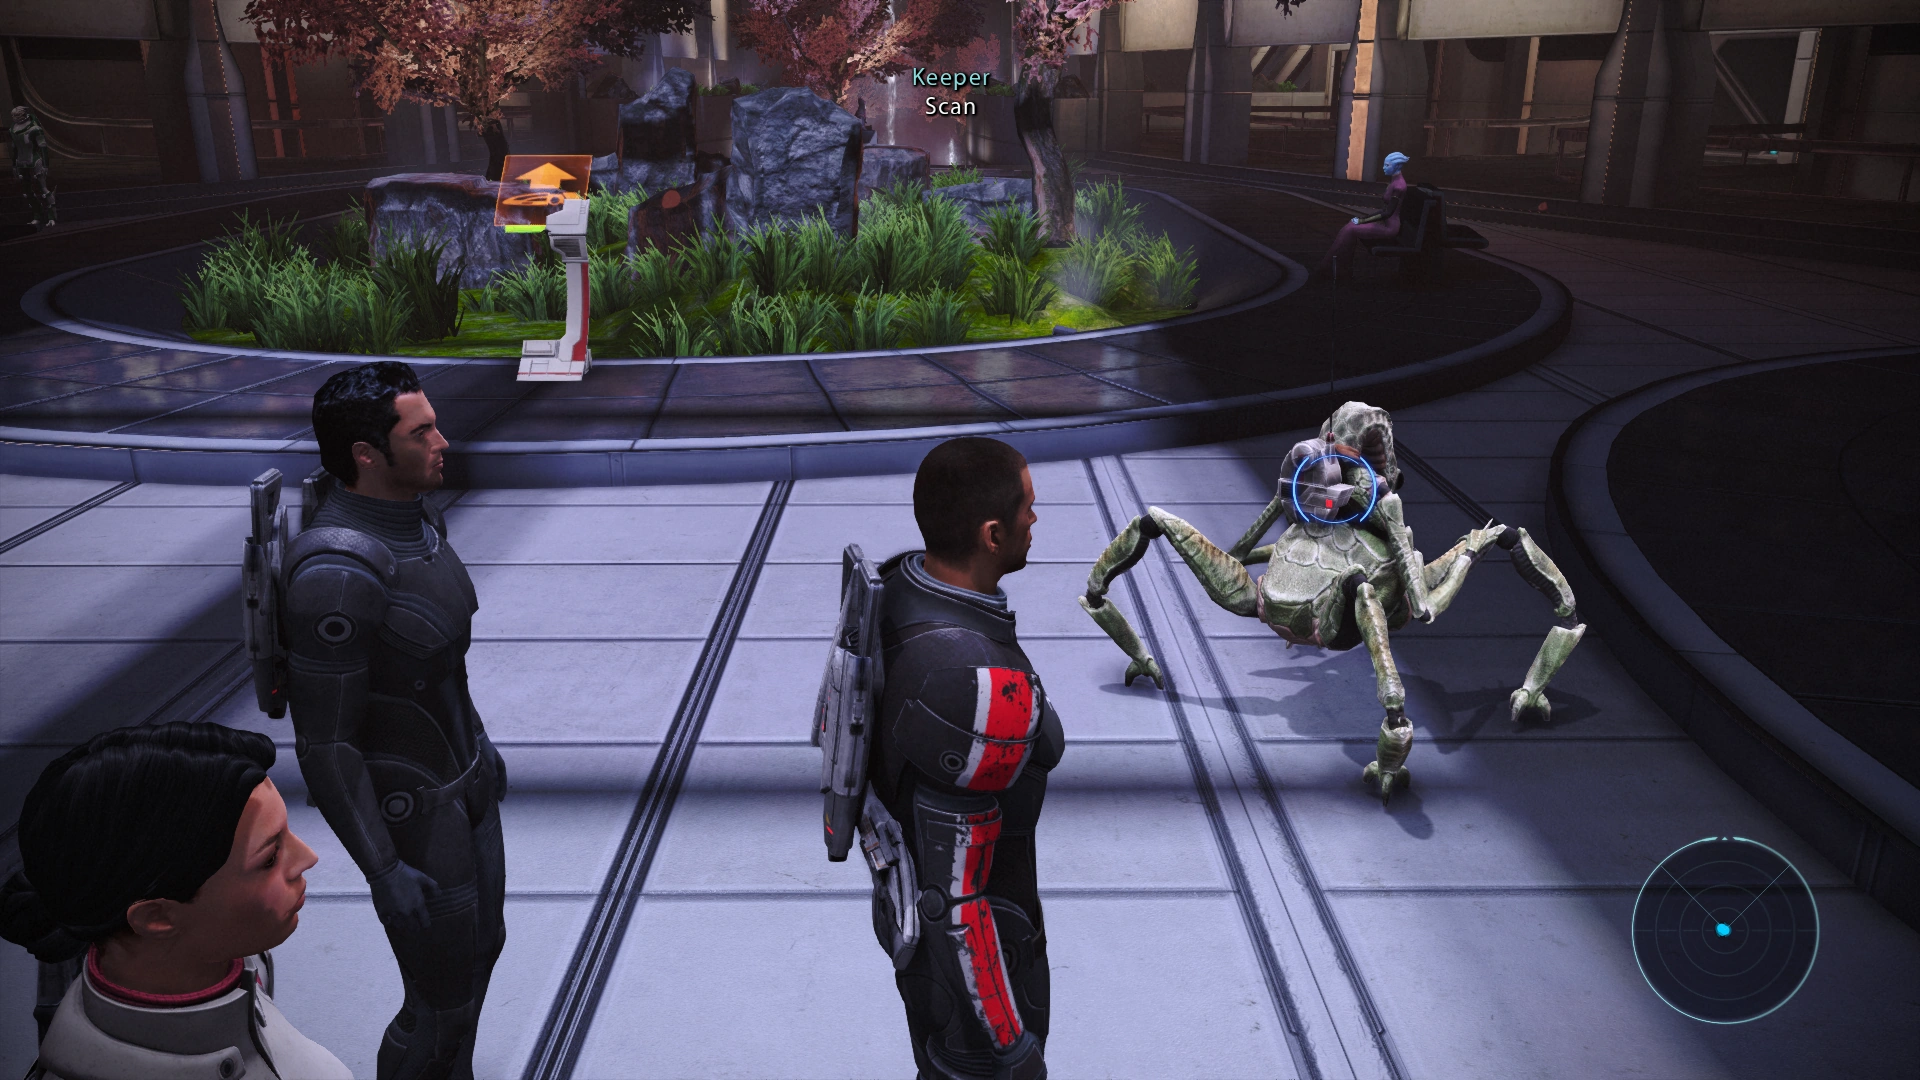
The quest is acquired by speaking with a salarian who is studying a keeper. After speaking with him, scan the keeper.

Then turn towards the stairs you just came down and head back up to the top level.
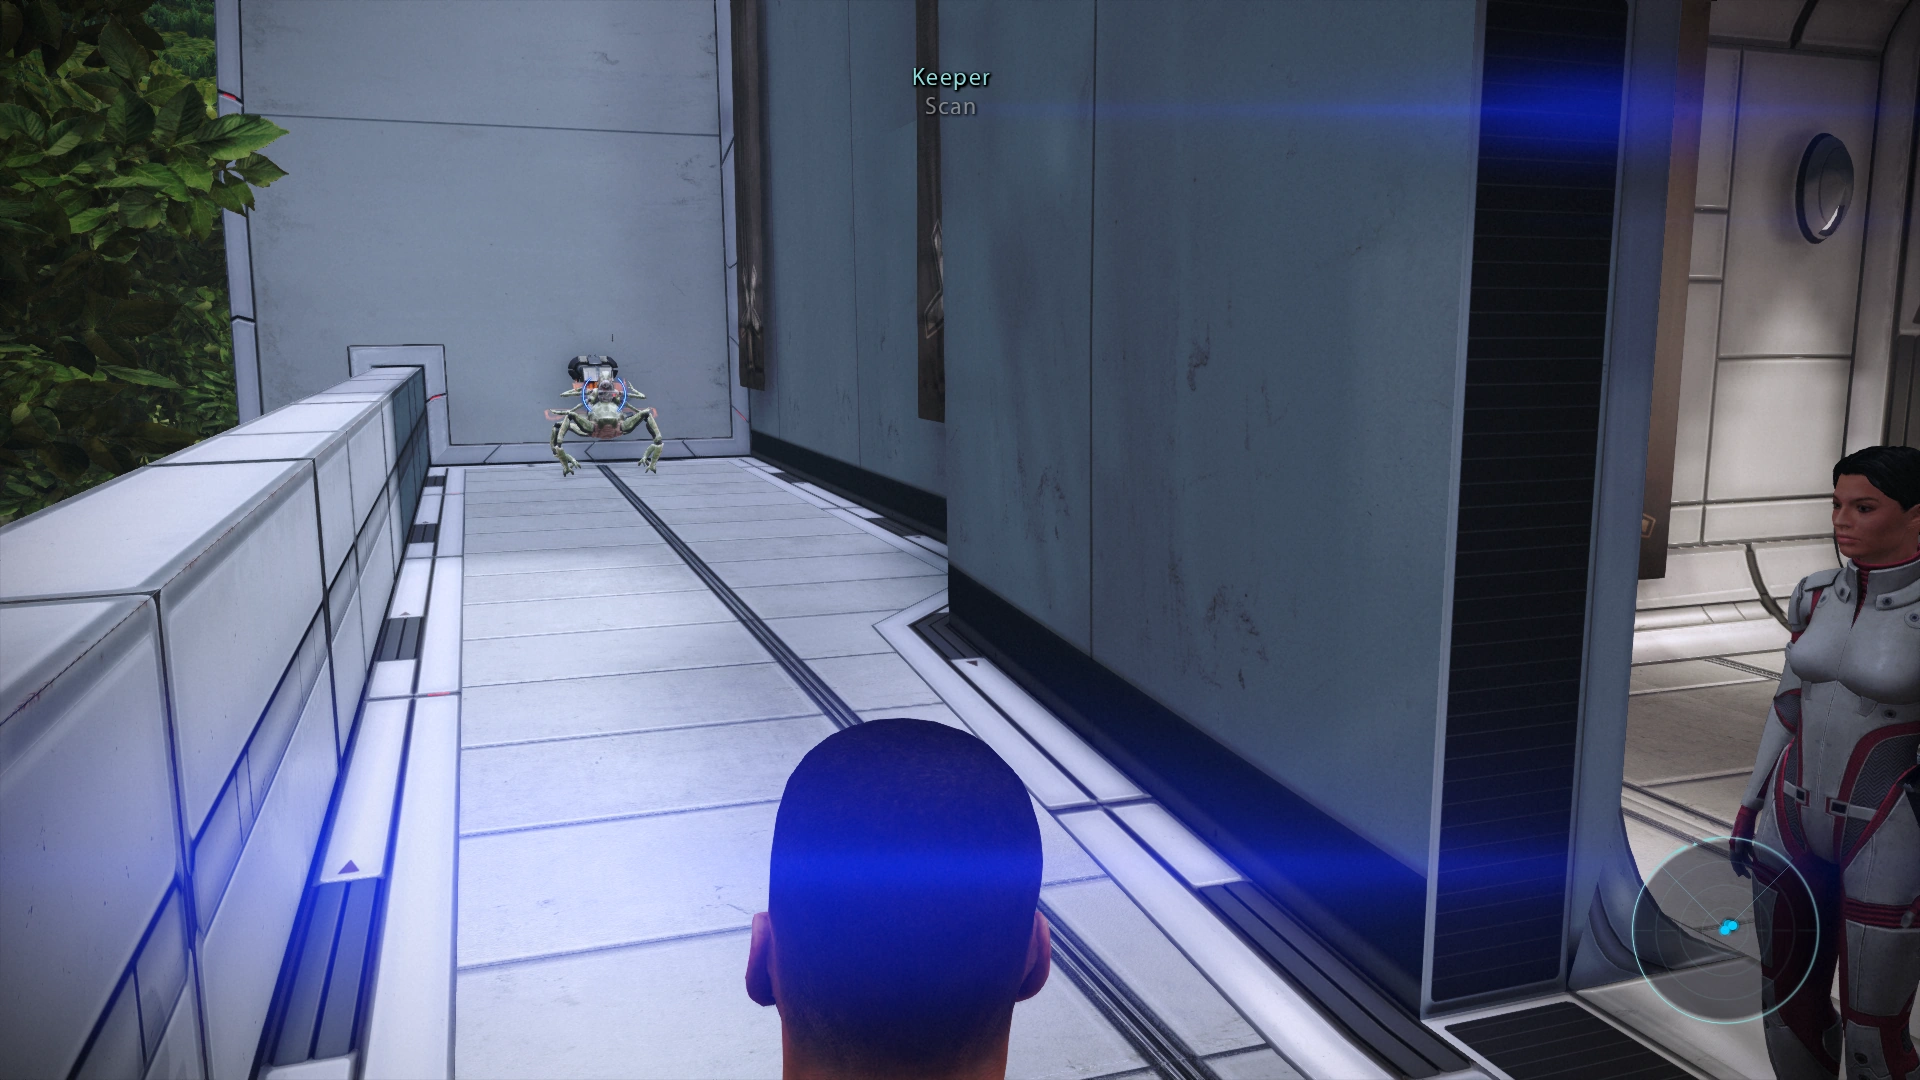
Stop just before the railed balcony you were addressing the council from earlier but face straight ahead. At your one o’clock will be the next keeper:

After scanning it, head back down the stairs you just came up.
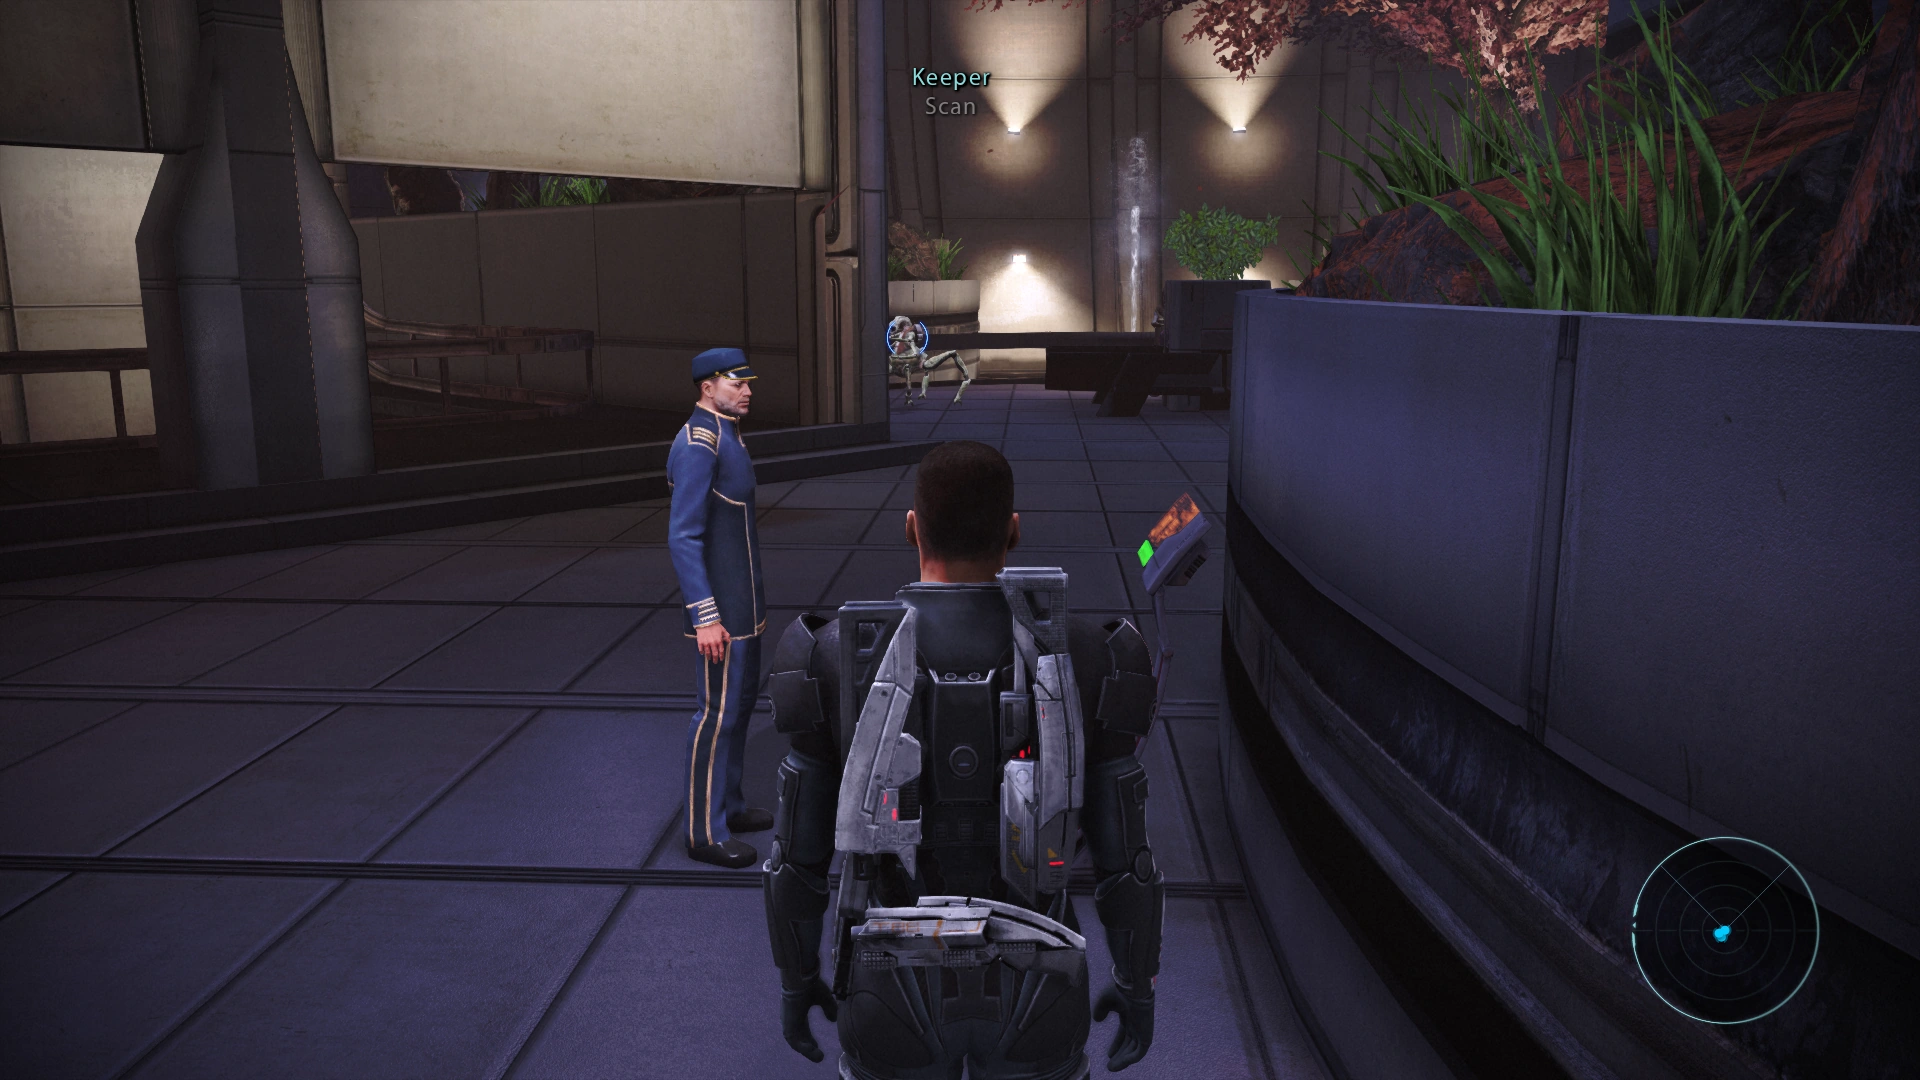
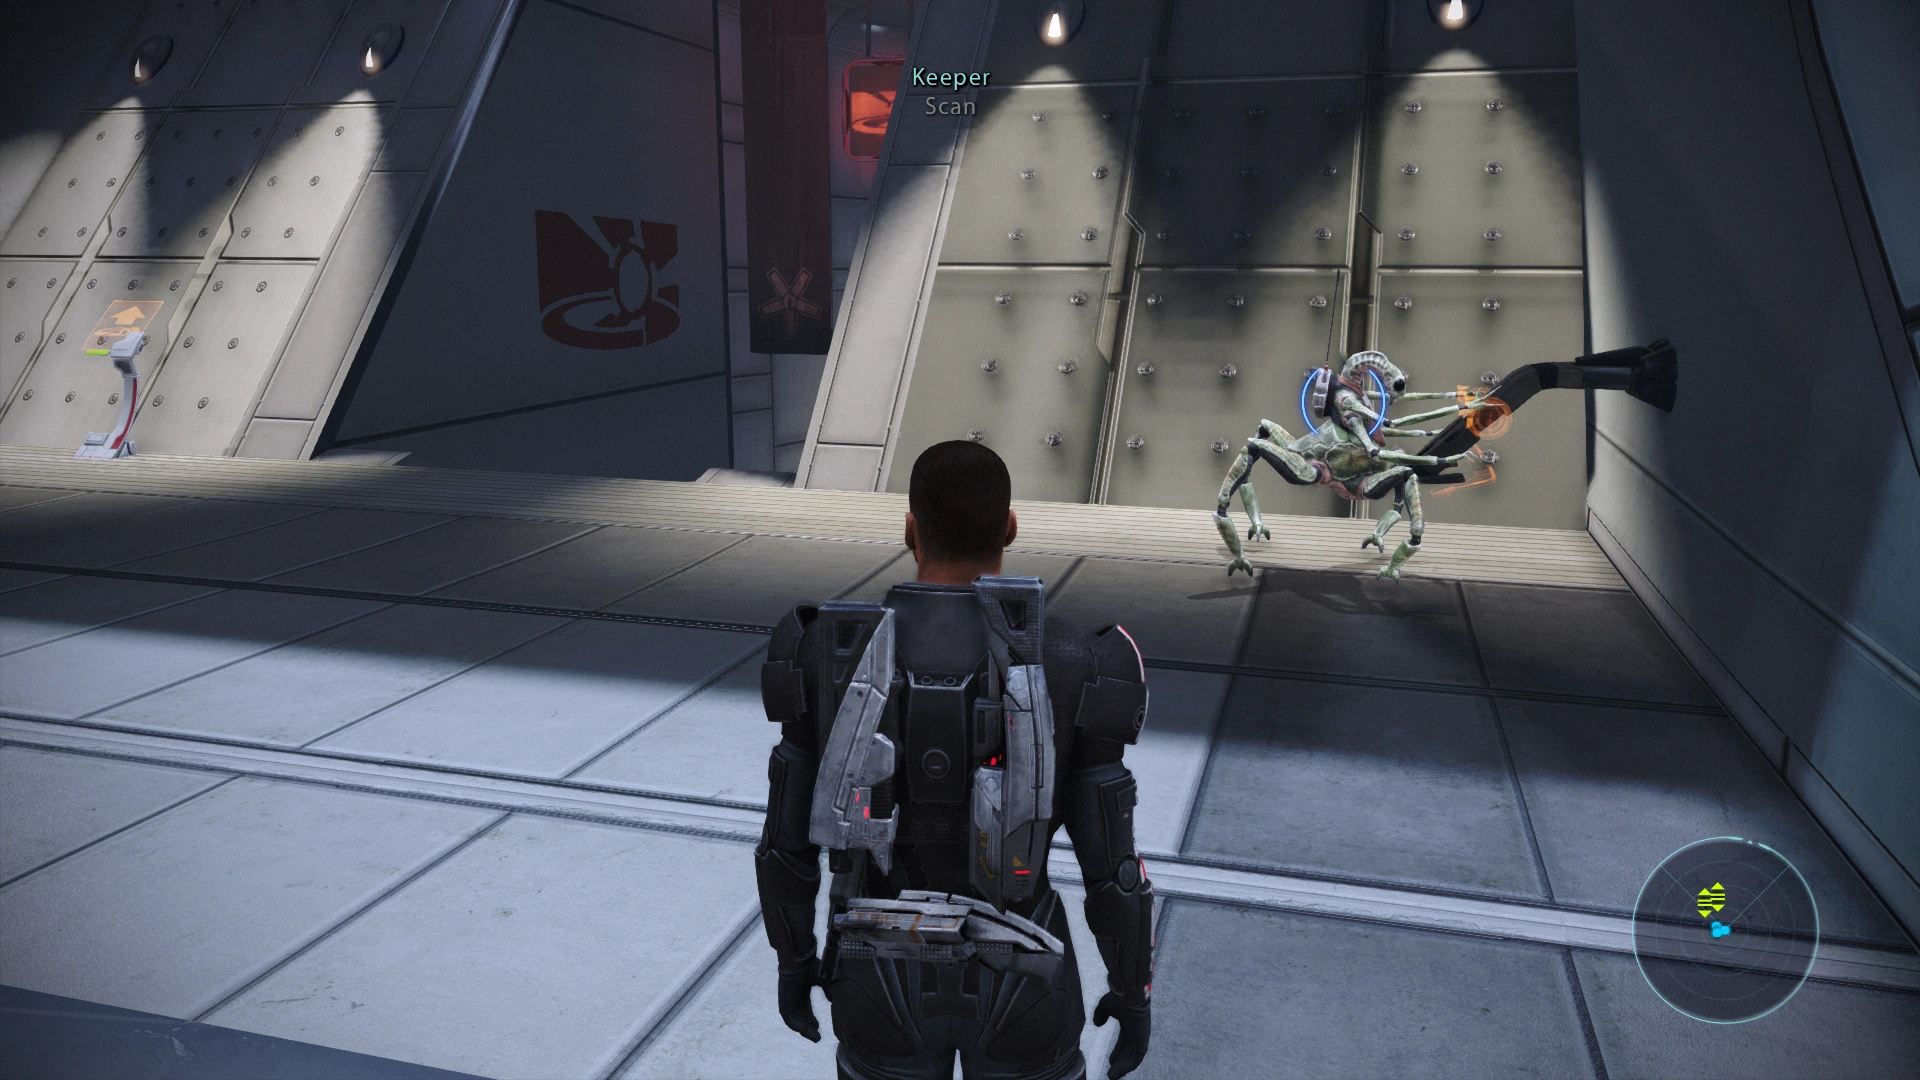
Immediately after exiting the stairs, head right and you’ll see Rear Admiral Kahoku. The third keeper is just past him and to the left:

After scanning this keeper, turn around and head back the opposite direction to the first keeper.
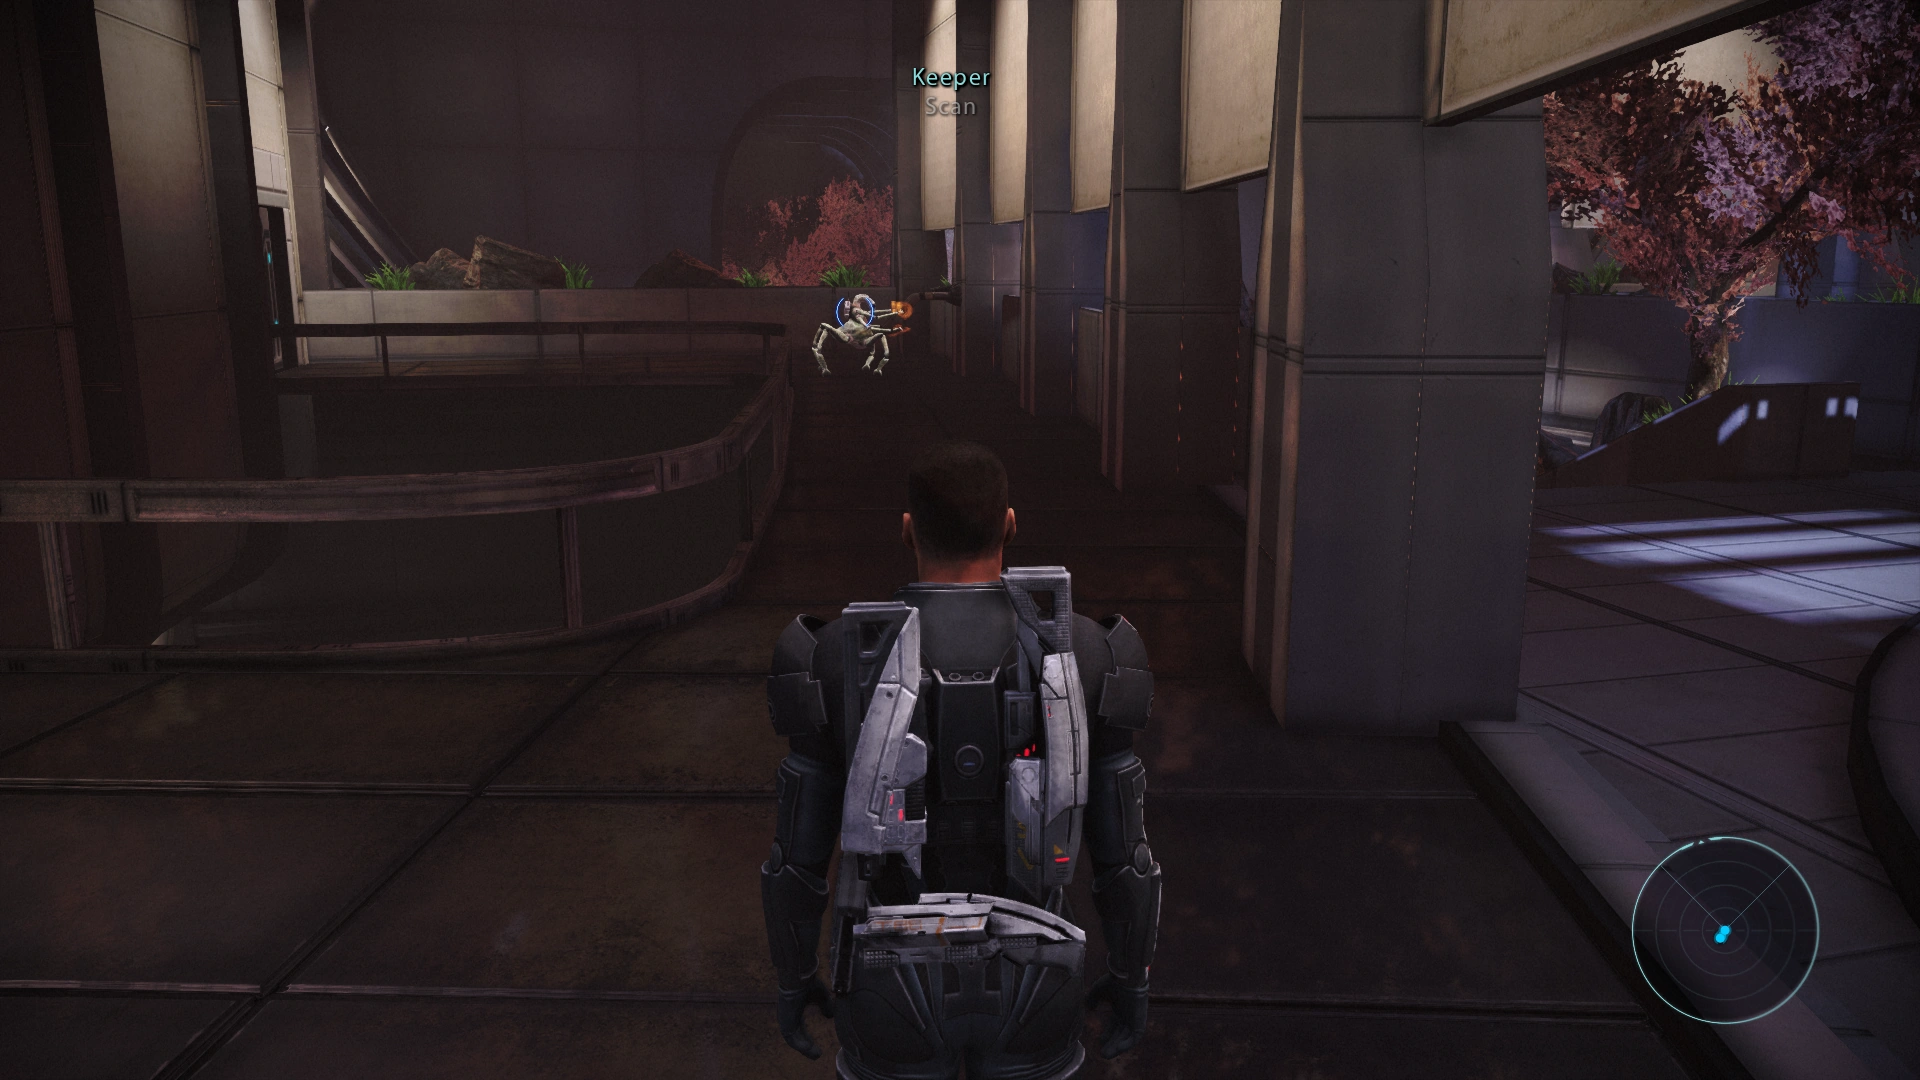
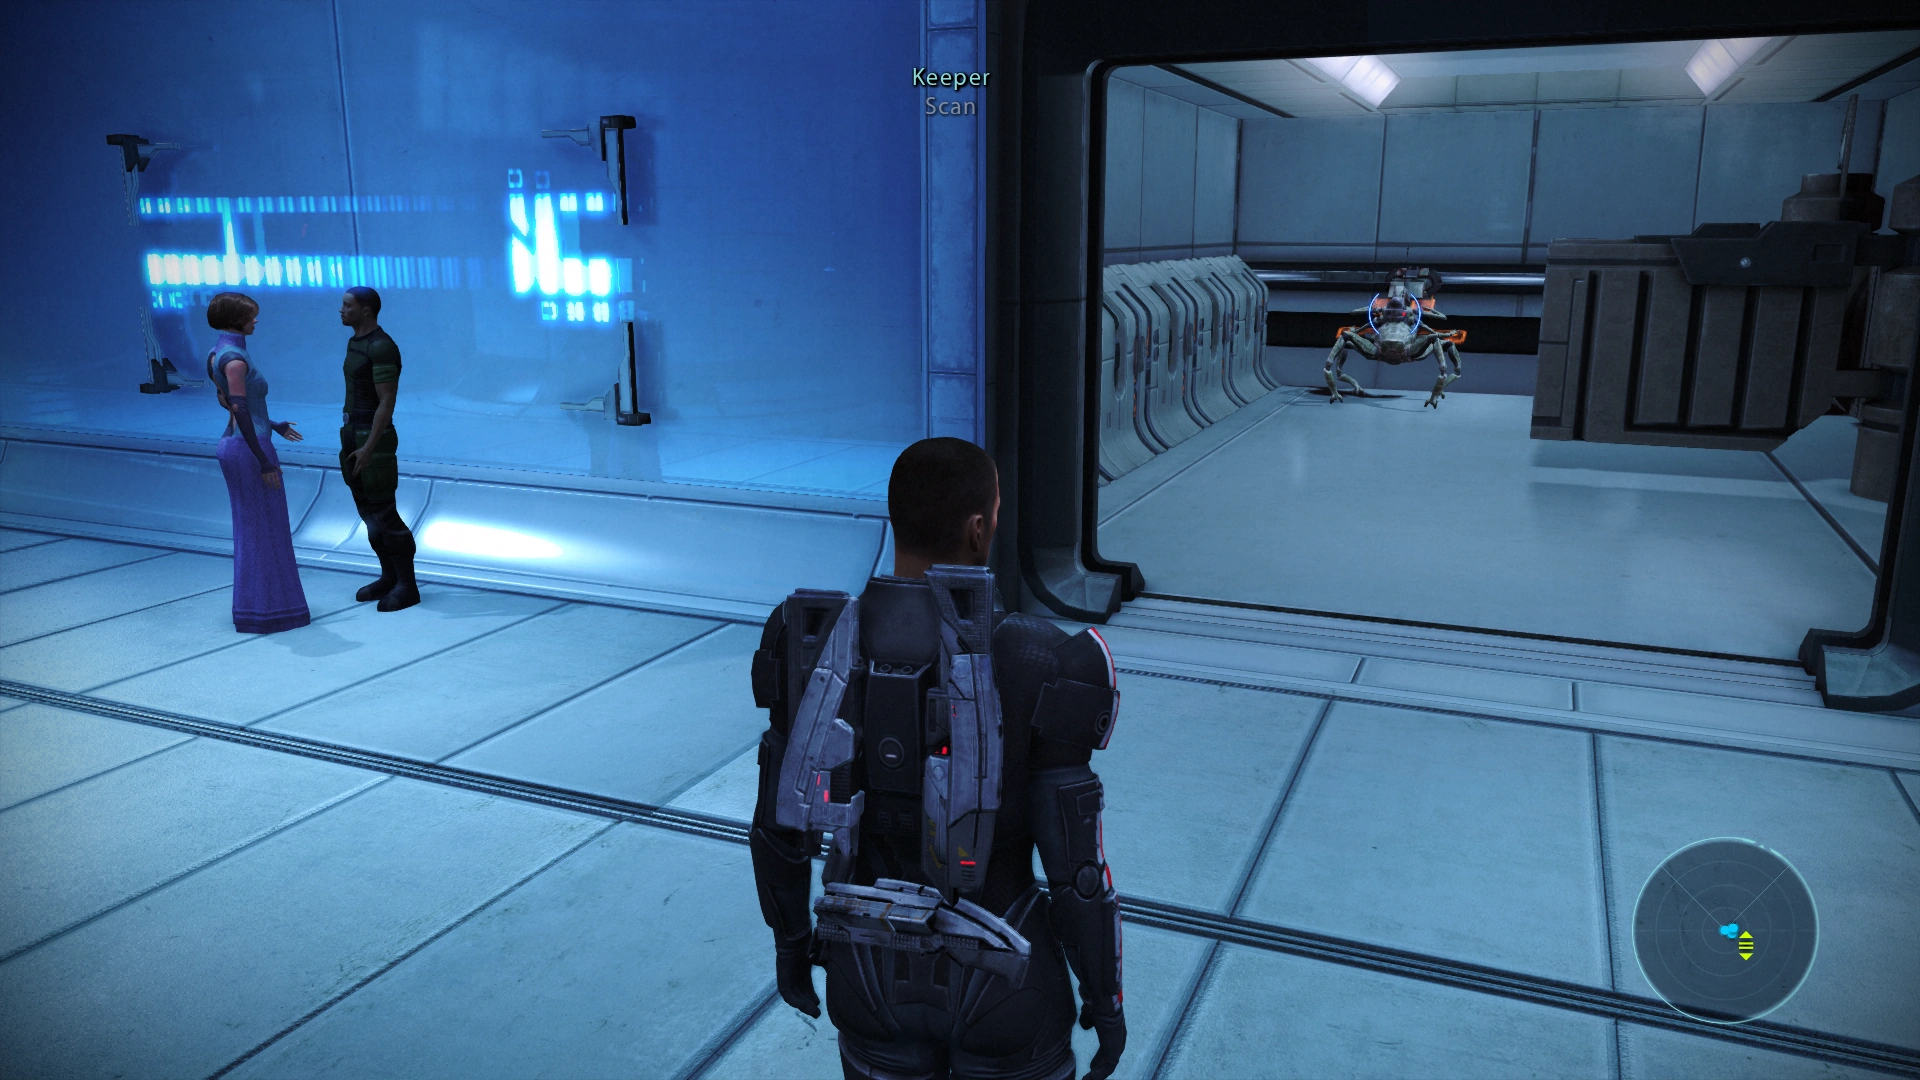
Head even further ahead into the recessed area and turn right. The fourth keeper will be at the end of the walkway:

After scanning it, head all the way down every flight of stairs and take the elevator at the very end.
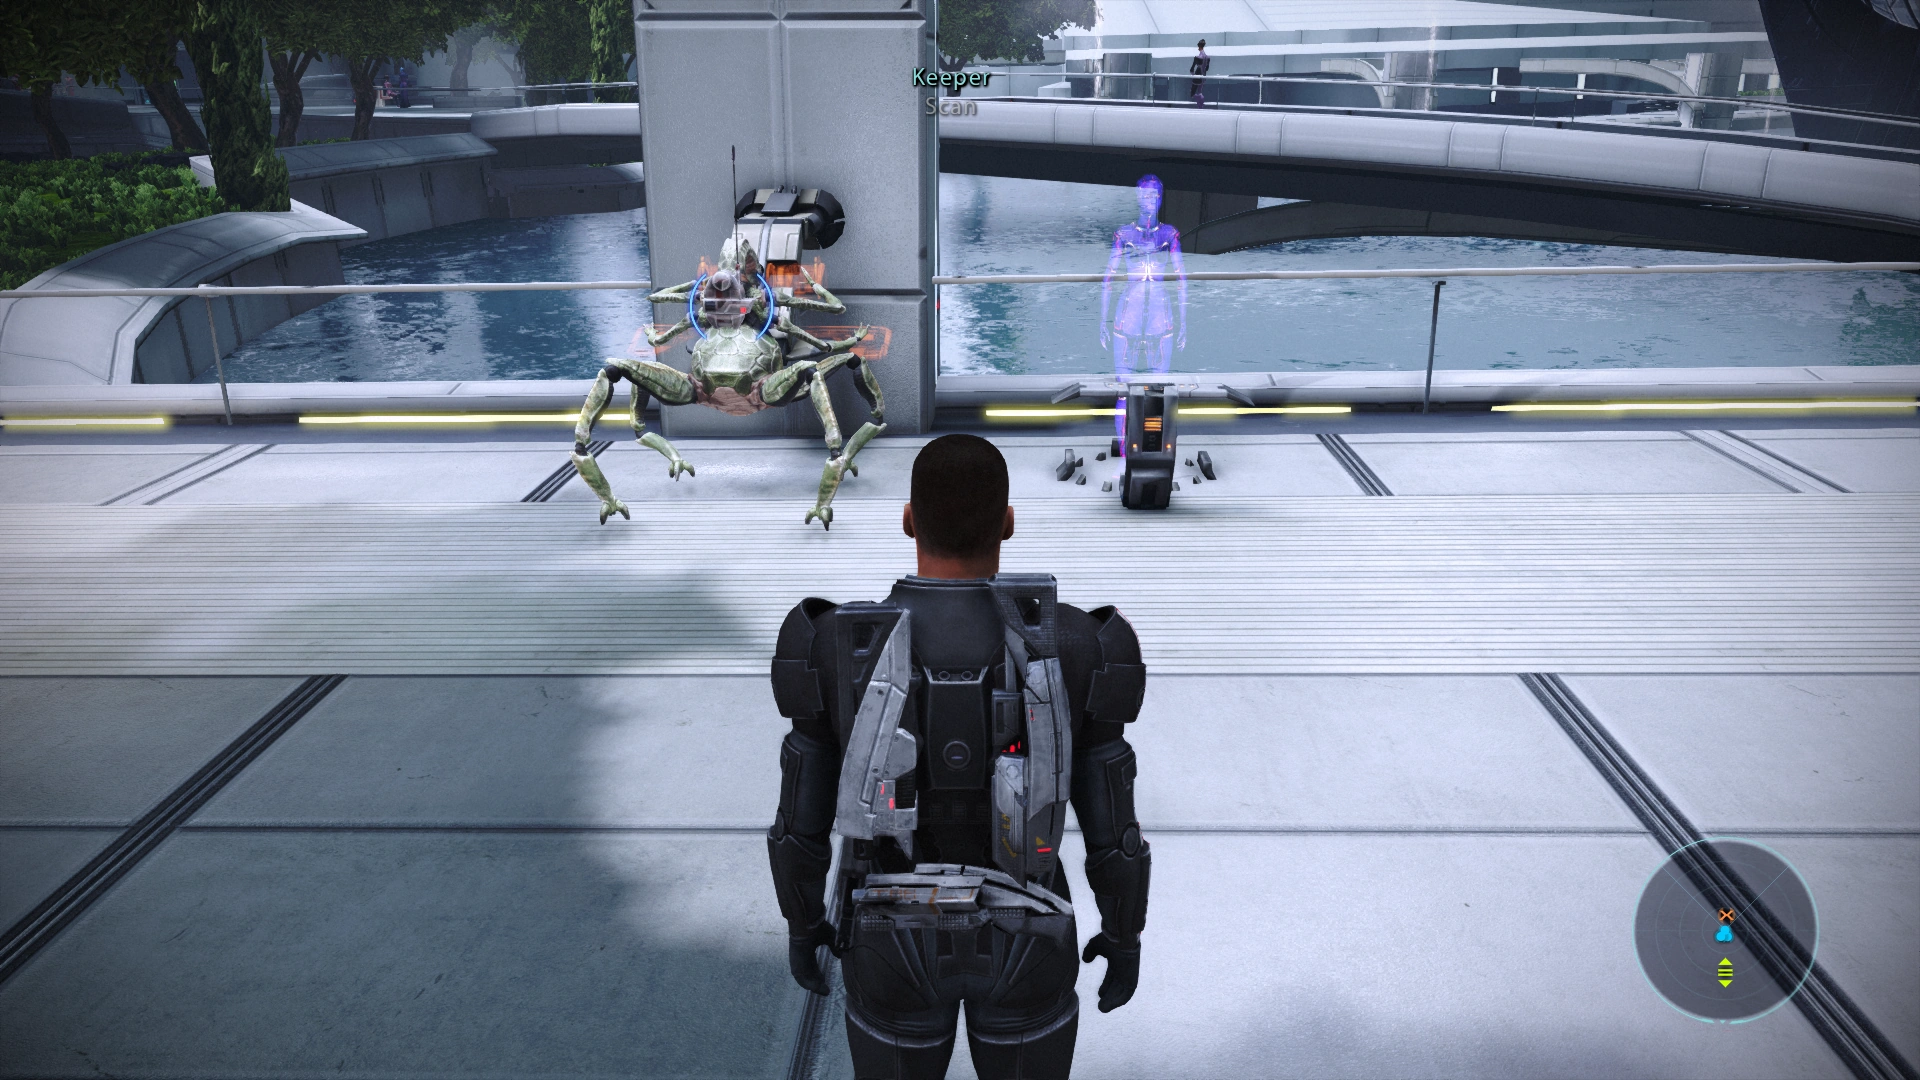
Upon exiting the elevator, the fifth keeper will be in front of you, just to the left of the holographic Avina terminal.

After scanning it (and ignoring Avina), turn right and follow the path over the bridge that crosses the Presidium river. You’ll pass a miniature mass relay on your right followed by three fountains which will also be on your right.
Pass the parked skycar (on your right), Barla Von’s office (also on your right) and turn into the Emporium. Head up the stairs that lead to the back room. The sixth keeper will be on the left:

After scanning it, head back out to the walkway in front of the Emporium and face right.
Continue on the walkway until it splits. You’ll see a giant krogan statue on your left. The seventh keeper will be on your right:

After scanning it, you’ll continue on this right path.
Follow this convoluted route:
The eighth keeper will be on the left side of the entrance to the Consort Chambers:

Scan it and then head to the Citadel Rapid Transit station on the other side of the entrance (also pictured). Activate it and select Presidium Locations followed by Embassies.
Once back at the embassies, follow this route:
The ninth keeper is tucked around a wall divider:

Scan it and then head back down both sets of stairs to the Embassy Receptionist.
Now head up the stairs that are on the left side (when facing the receptionist). This time when you go through the door at the top, head to the right into a work area. The tenth keeper will be at the back of this room:

Scan it and then head back out of the room, but go no further.
Once you’ve exited the work area, head right and down the hall. At the end of the hall is the embassy lounge. Go inside and then through another door that will also be directly ahead. The eleventh keeper will be on the right end of this balcony area:

This is the last keeper in the embassies. Scan it and then head back down the stairs, past the receptionist, and exit the fourier entirely.
Turn right out of the embassy fourier and continue for a distance, making sure to stay to the right. You will encounter the twelfth keeper on the right side of the stairway that leads down to the Wards:

Scan it and then head down those stairs, making an about-face to the right as you do.
Take the elevator down at the end of the hall. Once you reach the bottom, exit and travel through the corridor. The thirteenth keeper will be in the last accessible room on the left-hand side:

Scan it and then continue to the very end of the corridor, taking another elevator on the right-hand side.
Once you exit at the bottom, you will have a door in front of you, but also one to the right. Go through the door on the right. The fourteenth keeper will be in front of you and a little to the right:

Scan it and then continue up the stairs to the keeper’s left. Keep travelling up and down stairs until you reach the next door.
Go through this door, down more stairs, and then through another door on the left. Take the elevated path around the merchant booths and go up yet more stairs. Turn left to find the fifteenth keeper in the corner across from Expat’s booth:

Scan it and then get ready for more walking.
Head out of this area, but not back down the stairs. Instead, make sure to stay to the right. You’ll pass a Citadel Rapid Transit station and go through a door. Once you go through this door, you’ll see some stairs on your left that go up to Flux. Take them up, through another door, and then up more stairs.
This is Flux; it has two levels. Go up to the second level. You’ll find the sixteenth keeper in the back-left corner:

Scan it and then exit Flux entirely, backtracking all the way to the observation area.
Head left and continue down this area, making sure (once again) to keep to the right. Do not take the stairs down to the C-Sec Academy, but remember where they are. For now, continue along the right to the very end of the observation area. The seventeenth keeper will be around the corner and on the left:

Once you scan it, head back to the stairs you passed by earlier.
Go down these stairs and find the eighteenth keeper to the right:

Scan it and then turn around to find the only door on the floor. Get ready for even more walking.
Proceed through the door and down the hall. At the end is an elevator; take it up. Exit the elevator and head right, going up some stairs. You’ll find yourself in a lobby area with more stairs to your right going down. Take them down to the C-Sec requisitions office. The nineteenth keeper will be on the left as soon as you enter the room:

Scan it and then head back up the stairs to the lobby area.
On the opposite side of the lobby from the stairs going down to the requisitions office, there are stairs going up to the tracking area. Go up these stairs, down the corridor, and then up more stairs at the end. This will take you into the tracking area and the twentieth keeper will be on your right:
![]()
Scan it. At this point, you should see a notification saying “Data Collection Complete”. If you don’t, it means you have missed a keeper. But instead of doing all of this over again to figure out which one, the game actually provides you with an extra keeper in case you miss one.
If you need to scan the spare keeper, head back to the C-Sec Academy lobby area. There will be an elevator directly between the two flights of stairs you’ve traveled. Note that this is not the elevator which goes up to the Presidium. The elevator you want is the one you have to go around in order to get from the requisitions office to the tracking area.
Take this elevator all the way up to the Citadel Docks. Once you arrive and the door opens, you can immediately see the extra keeper at your one o’clock position:

Scan it. If you still don’t see the notification that the quest is complete, it means you missed more than one keeper.